 This site is under construction!
This site is under construction!
Commission Go Box
Ham Radio and 12v power solar go-box kit
This is the finished product.
Yaesu 2M Transceiver
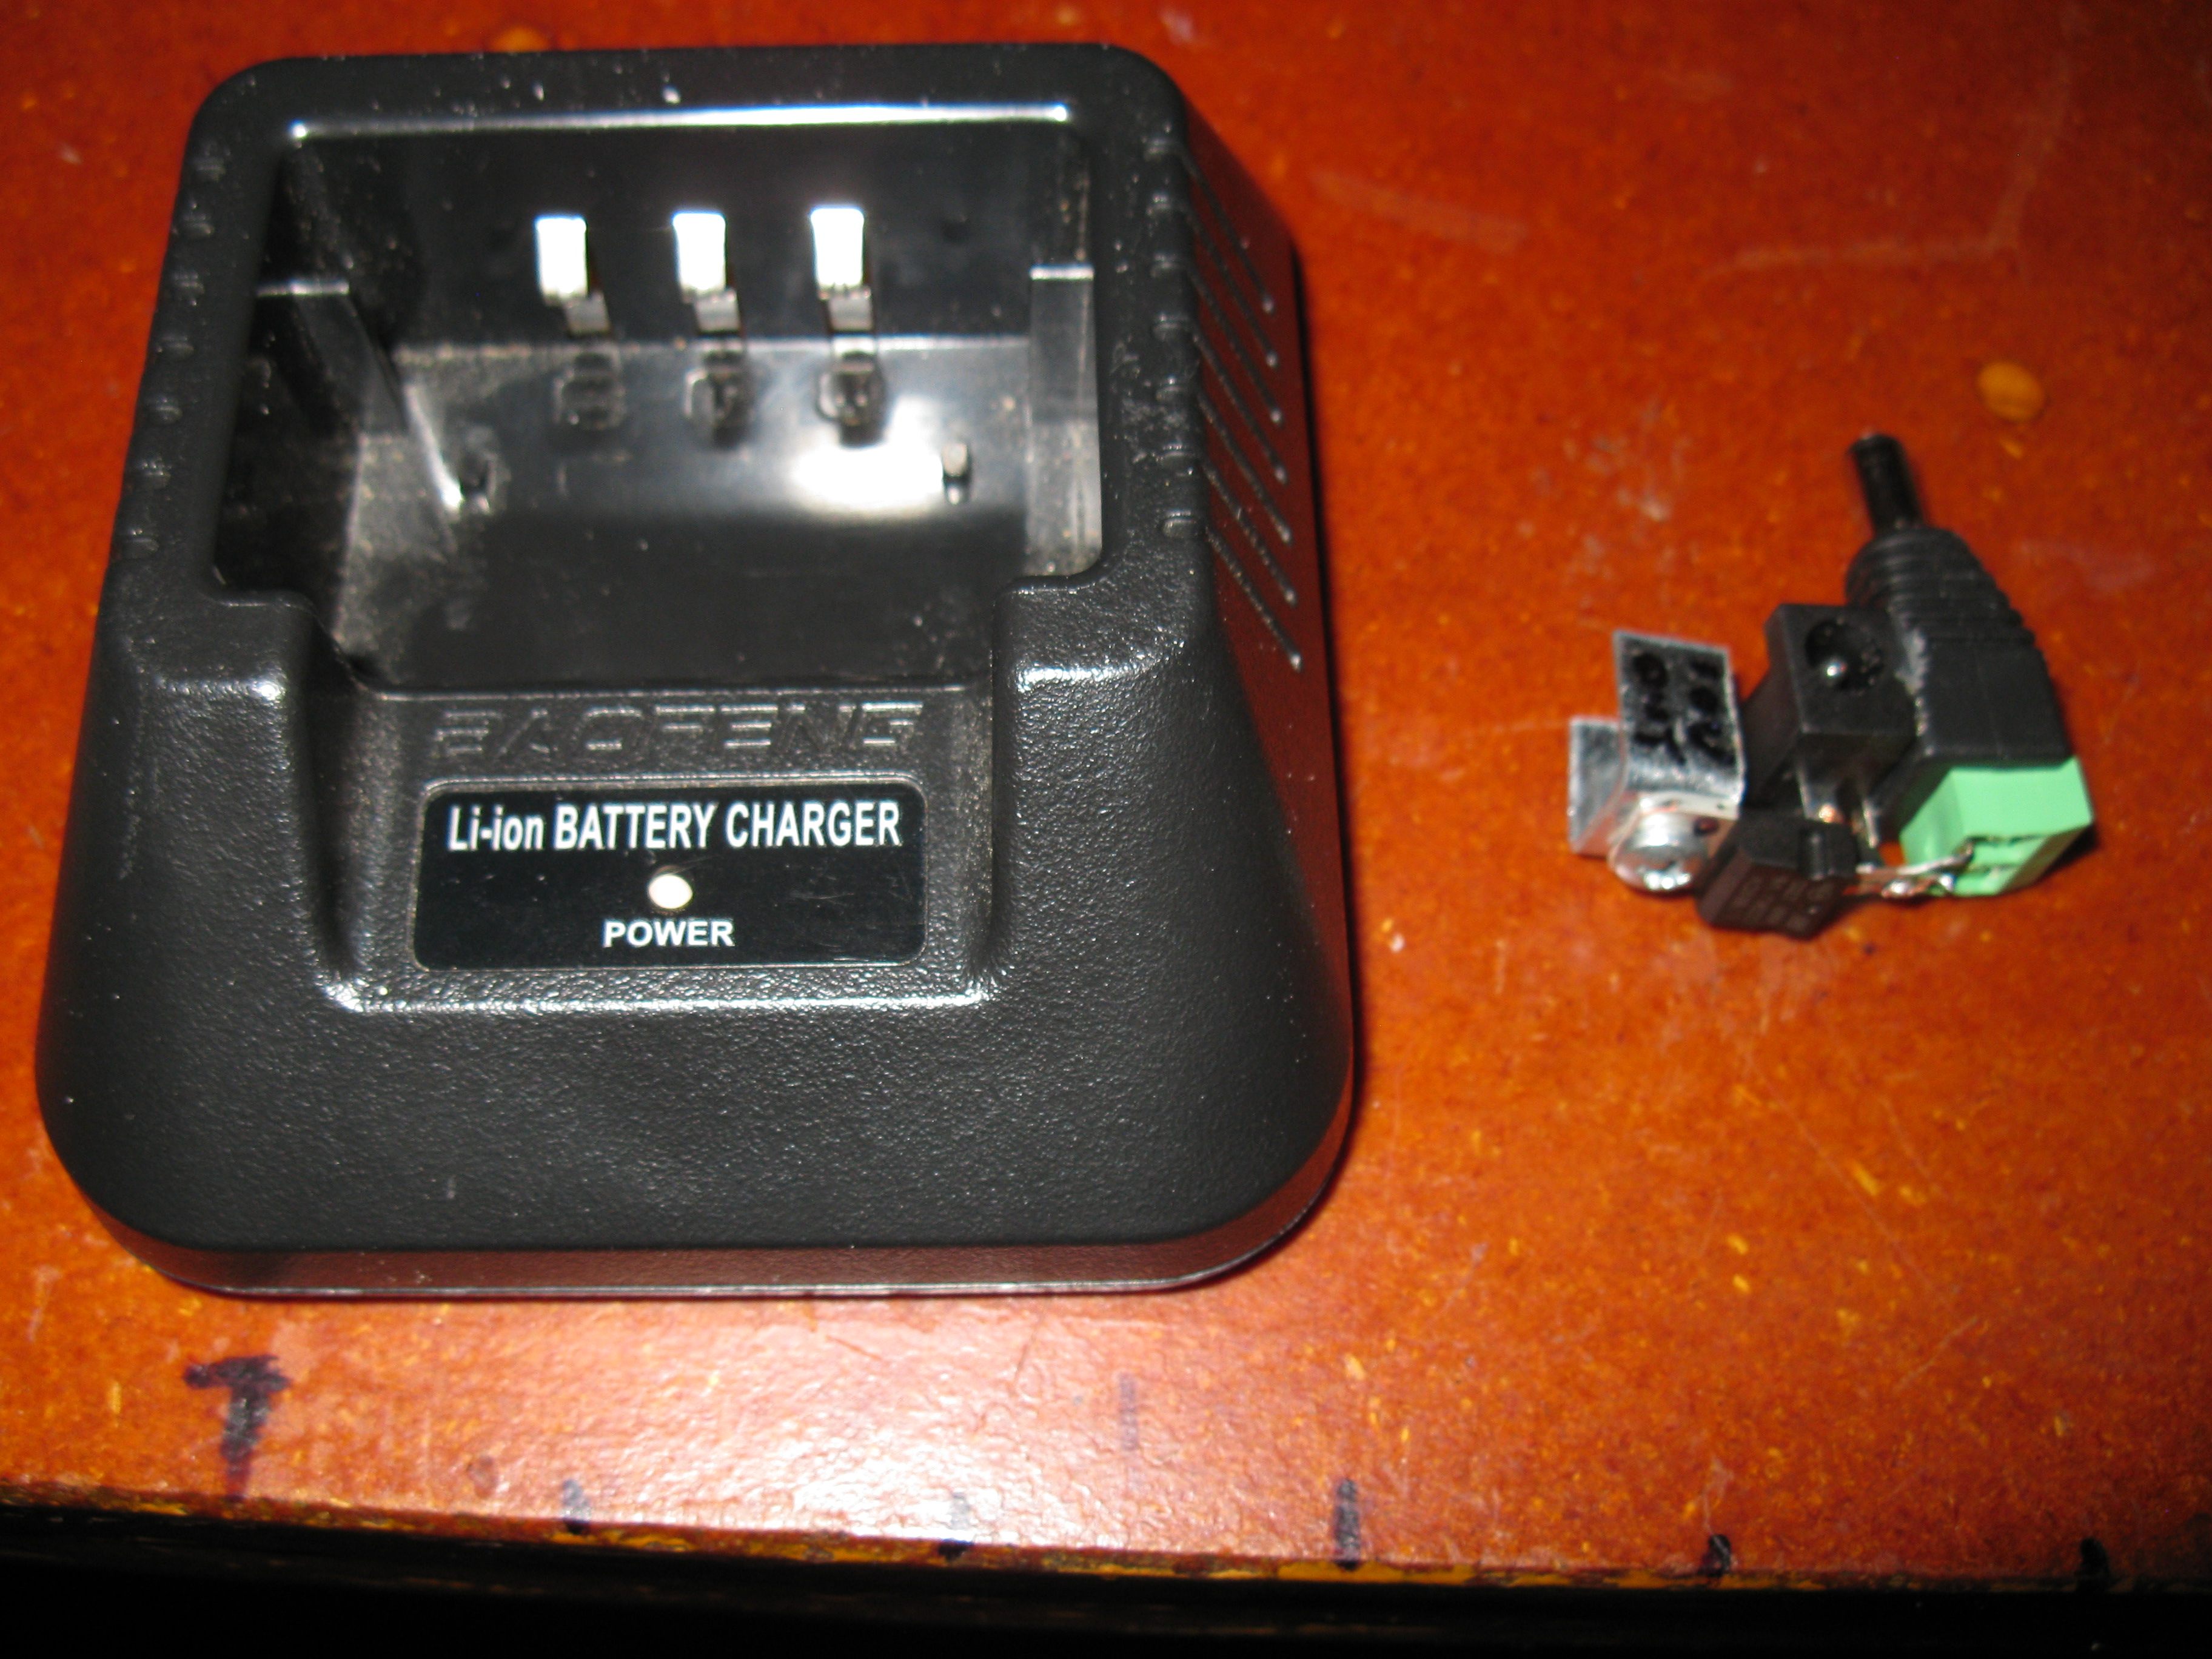
Baofeng UV-5R Radio and built-in charger dock
2x10AH 12v AGM Batteries
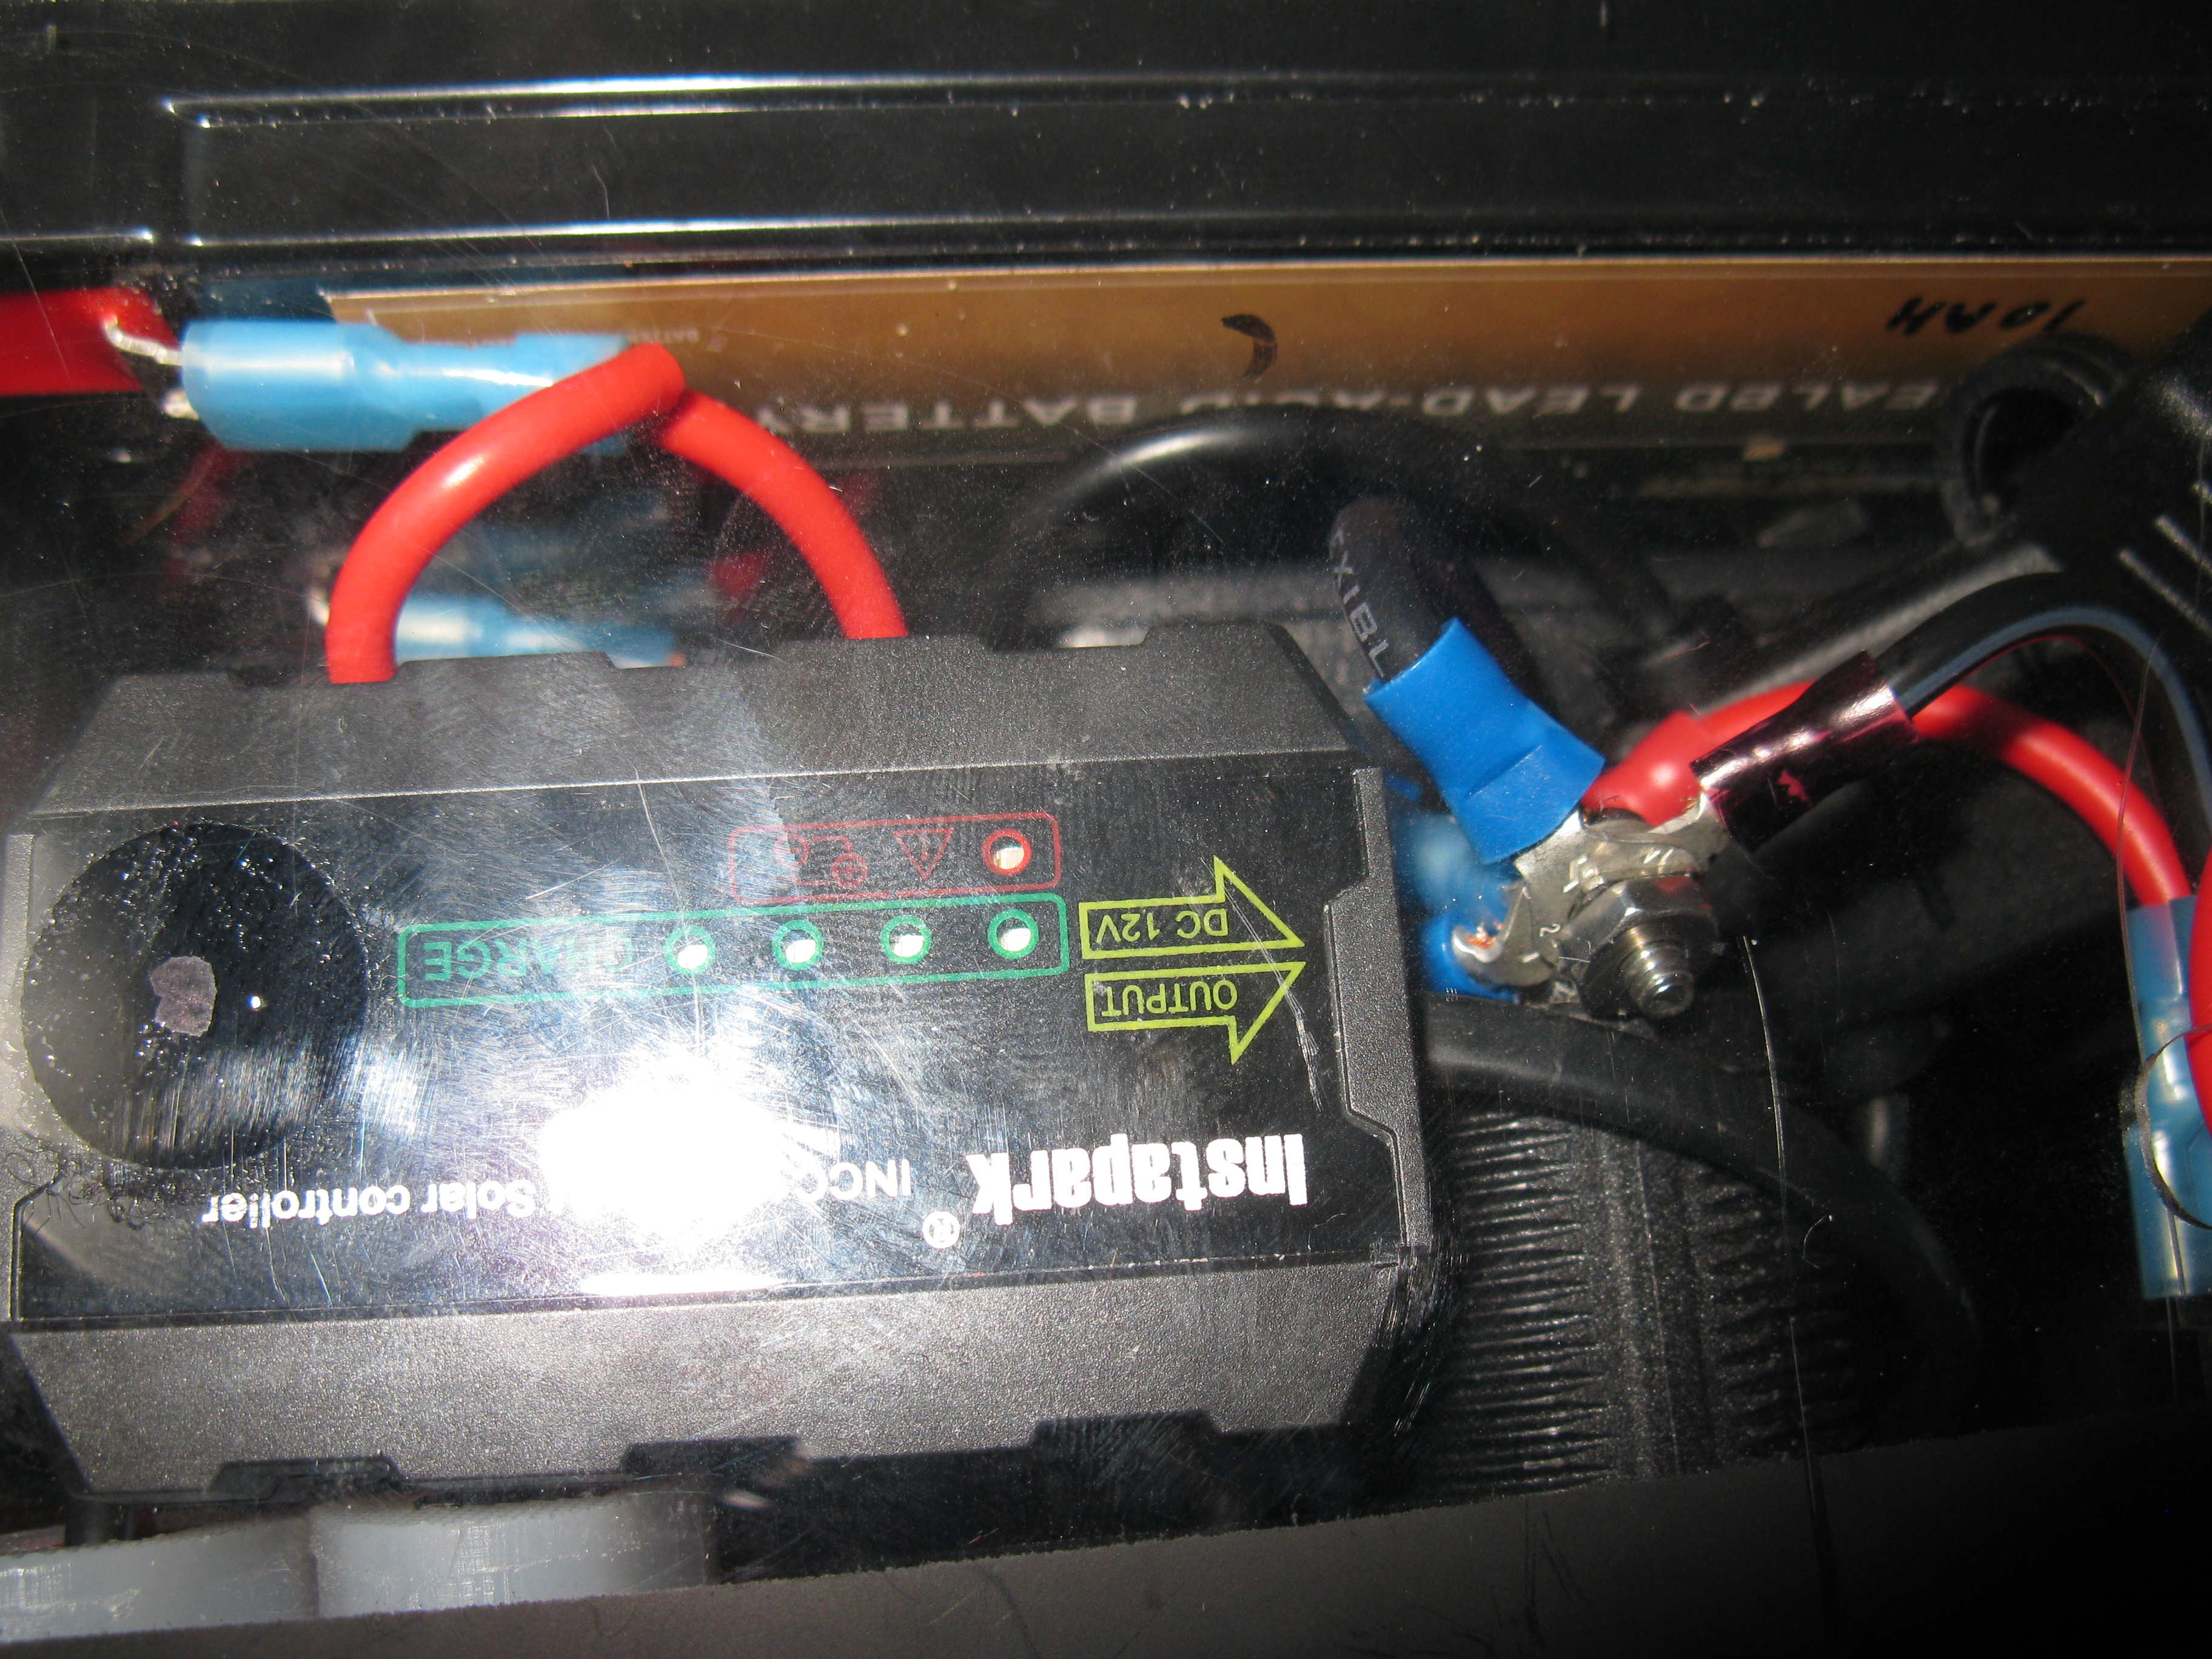
Instapark INCC1205 Solar charge controller
ALLPOWERS 14W Foldable Solar Panel
DROK Panel voltmeter
Anderson Powerpole connectors (1x Input, 2x Output)
12V Cigarette Lighter output
AA/AAA Rechargeable Batteries
12V->USB plug
AA/AAA Battery Charger (USB)
Cree Ultrafire Flashlight (uses 1 AA)
Misc. Cables
Pencil + Notepad
Zero current draw with everything "off"

This kit was built for a good friend, and housed in a WISE Outdoors 5602-13 Tall utility box.
Finding the right box and batteries to fit was one of the more challenging parts of this project.
The box is constructed of heavy-duty plastic. In order to shield the box from EMI/EMP, the inside of the box and lid is lined with aluminium foil tape, and then painted with a conductive paint. This provided complete conductance across the entire inner surface. The inside was then painted with a flat black paint, as to avoid any accidental shorts while handling.
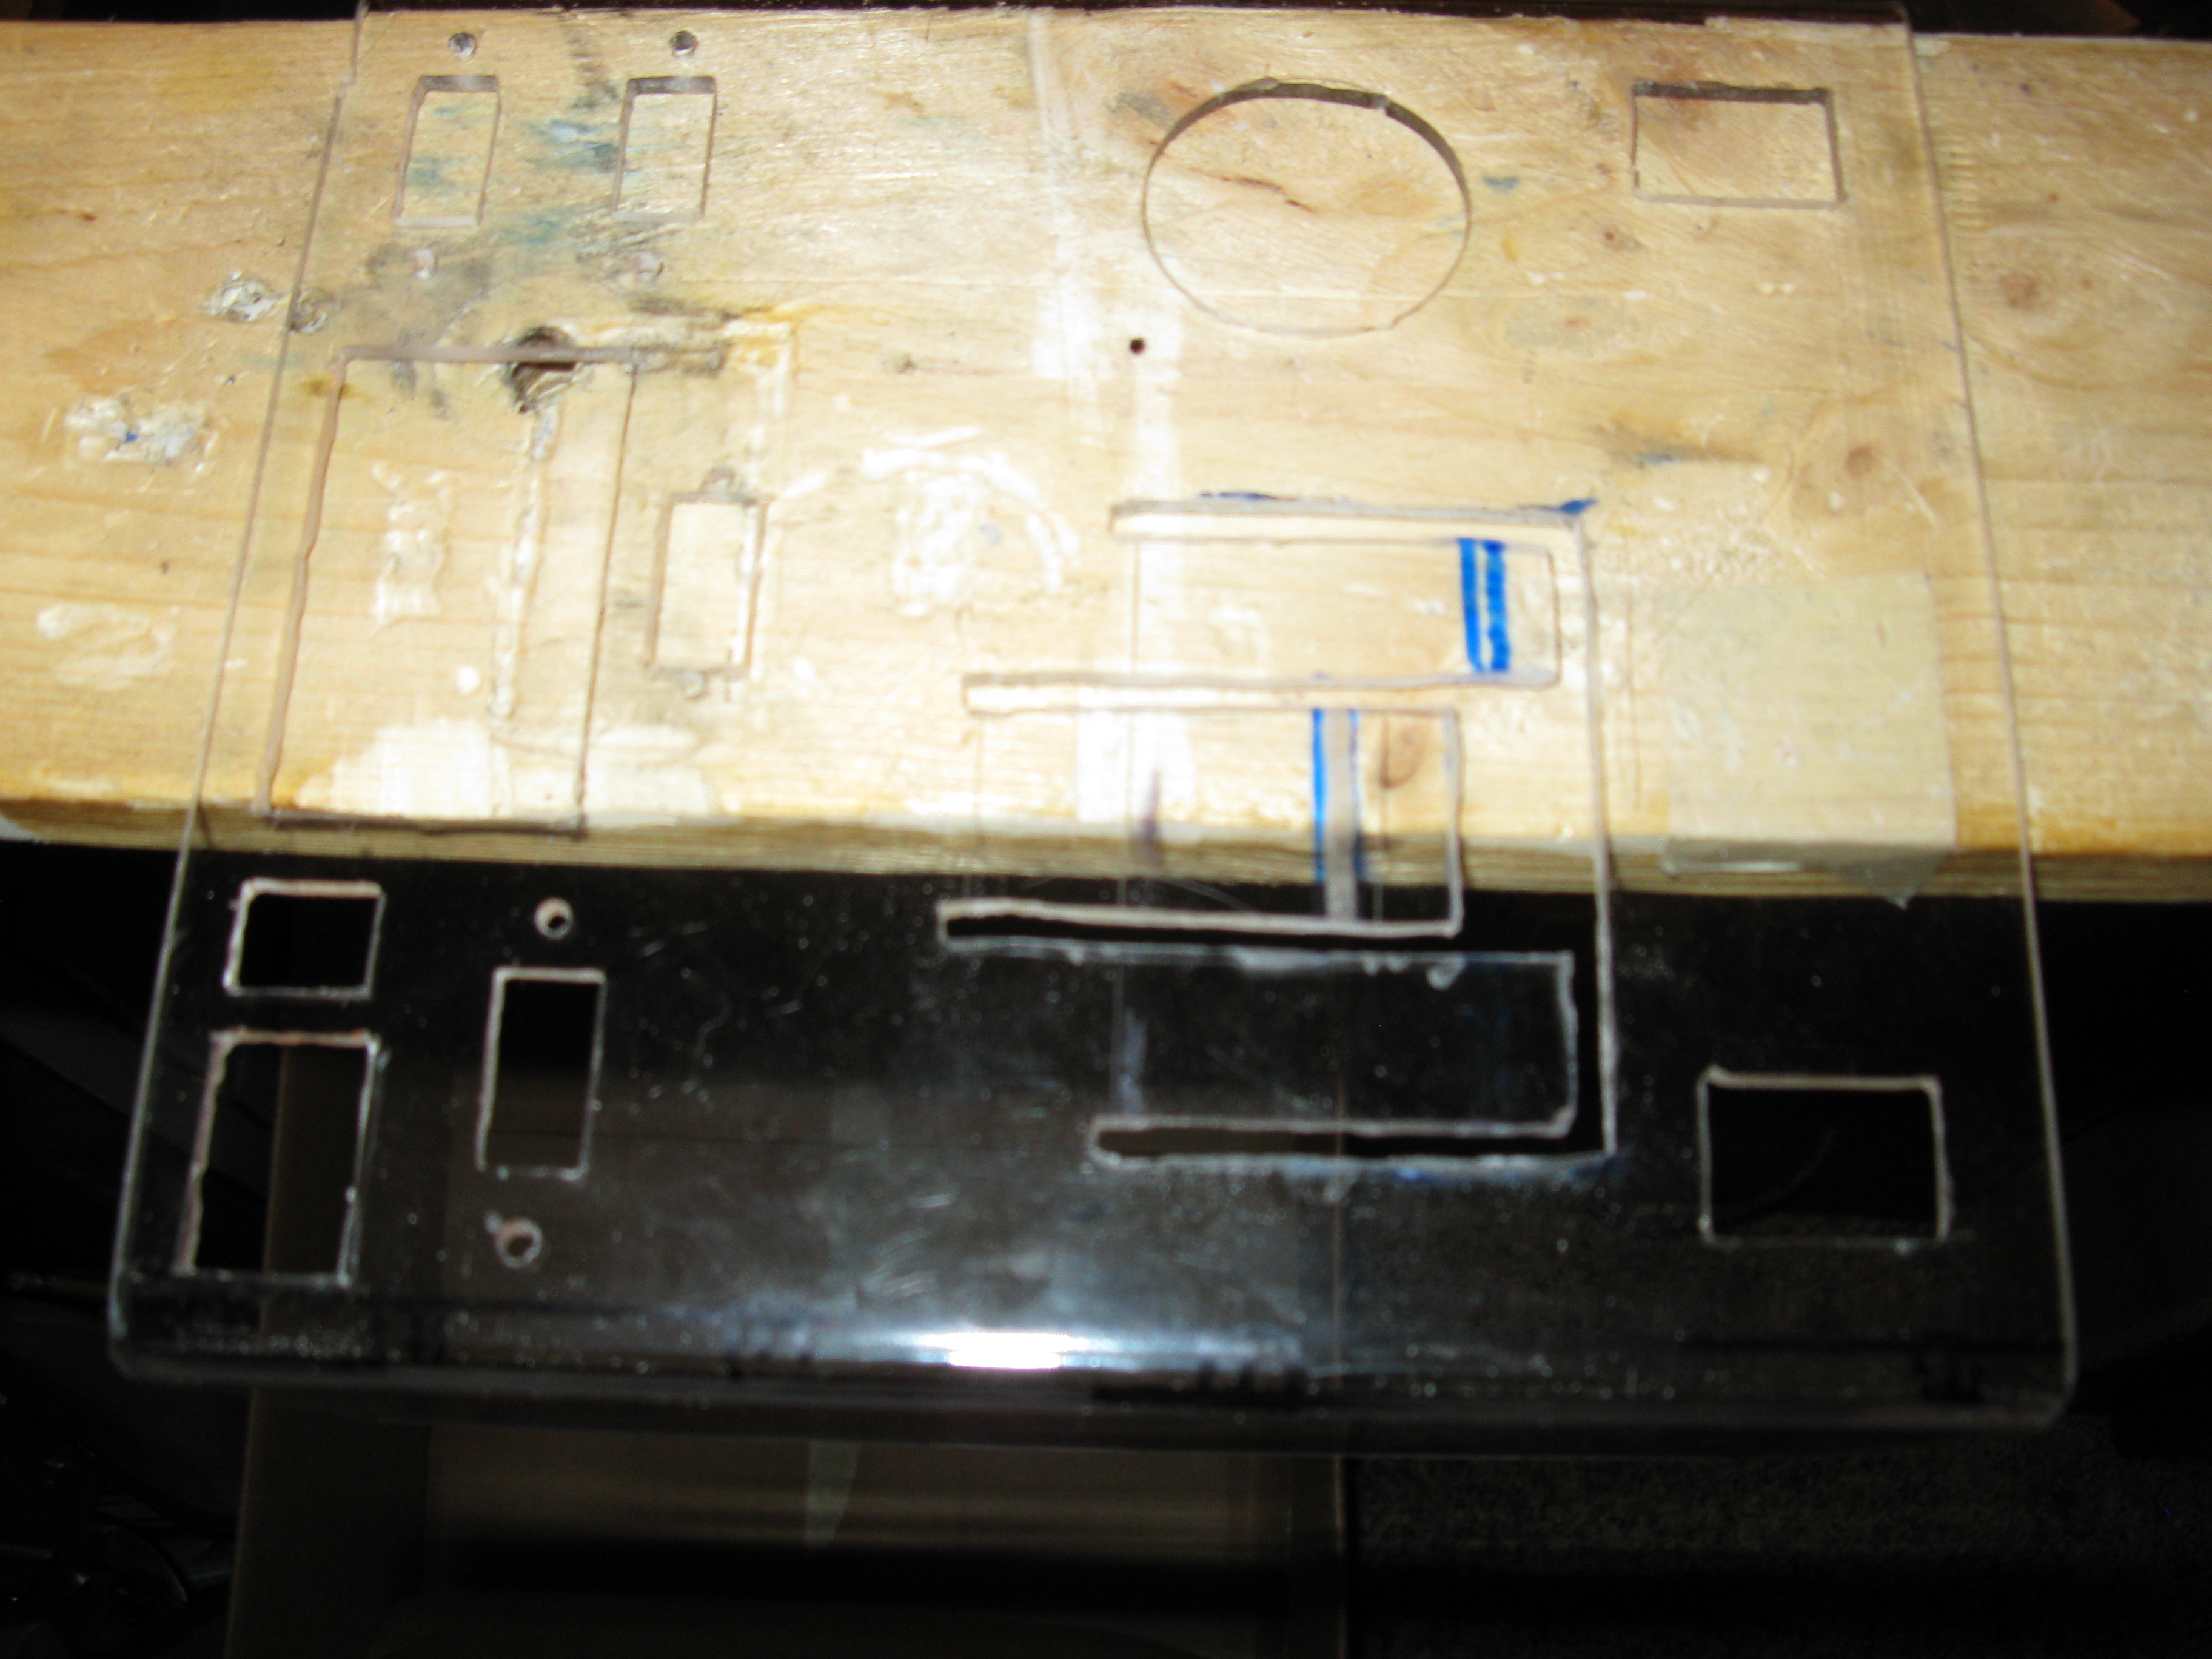
This box fits two 10AH AGM Batteries very well. The main panel is constructed of acrylic glass, cut out and then bent over a workbench edge using a heat gun and scrap wood.
To prevent shifting, I had glued in a vertical support in the "top" side of the box. This is under the aluminium tape+paint, epoxy'd directly to the plastic box, in order to provide serious support in case the box is dropped or jarred. The "bottom" side of this box will be supported in this dimension by the radio module
This is the radio module. The Yaesu is supported by it's own mounting bracket, attachedto a second bent piece of acrylic glass bent in the same manner as the other one into roughly an "L" shape with feet on each end.
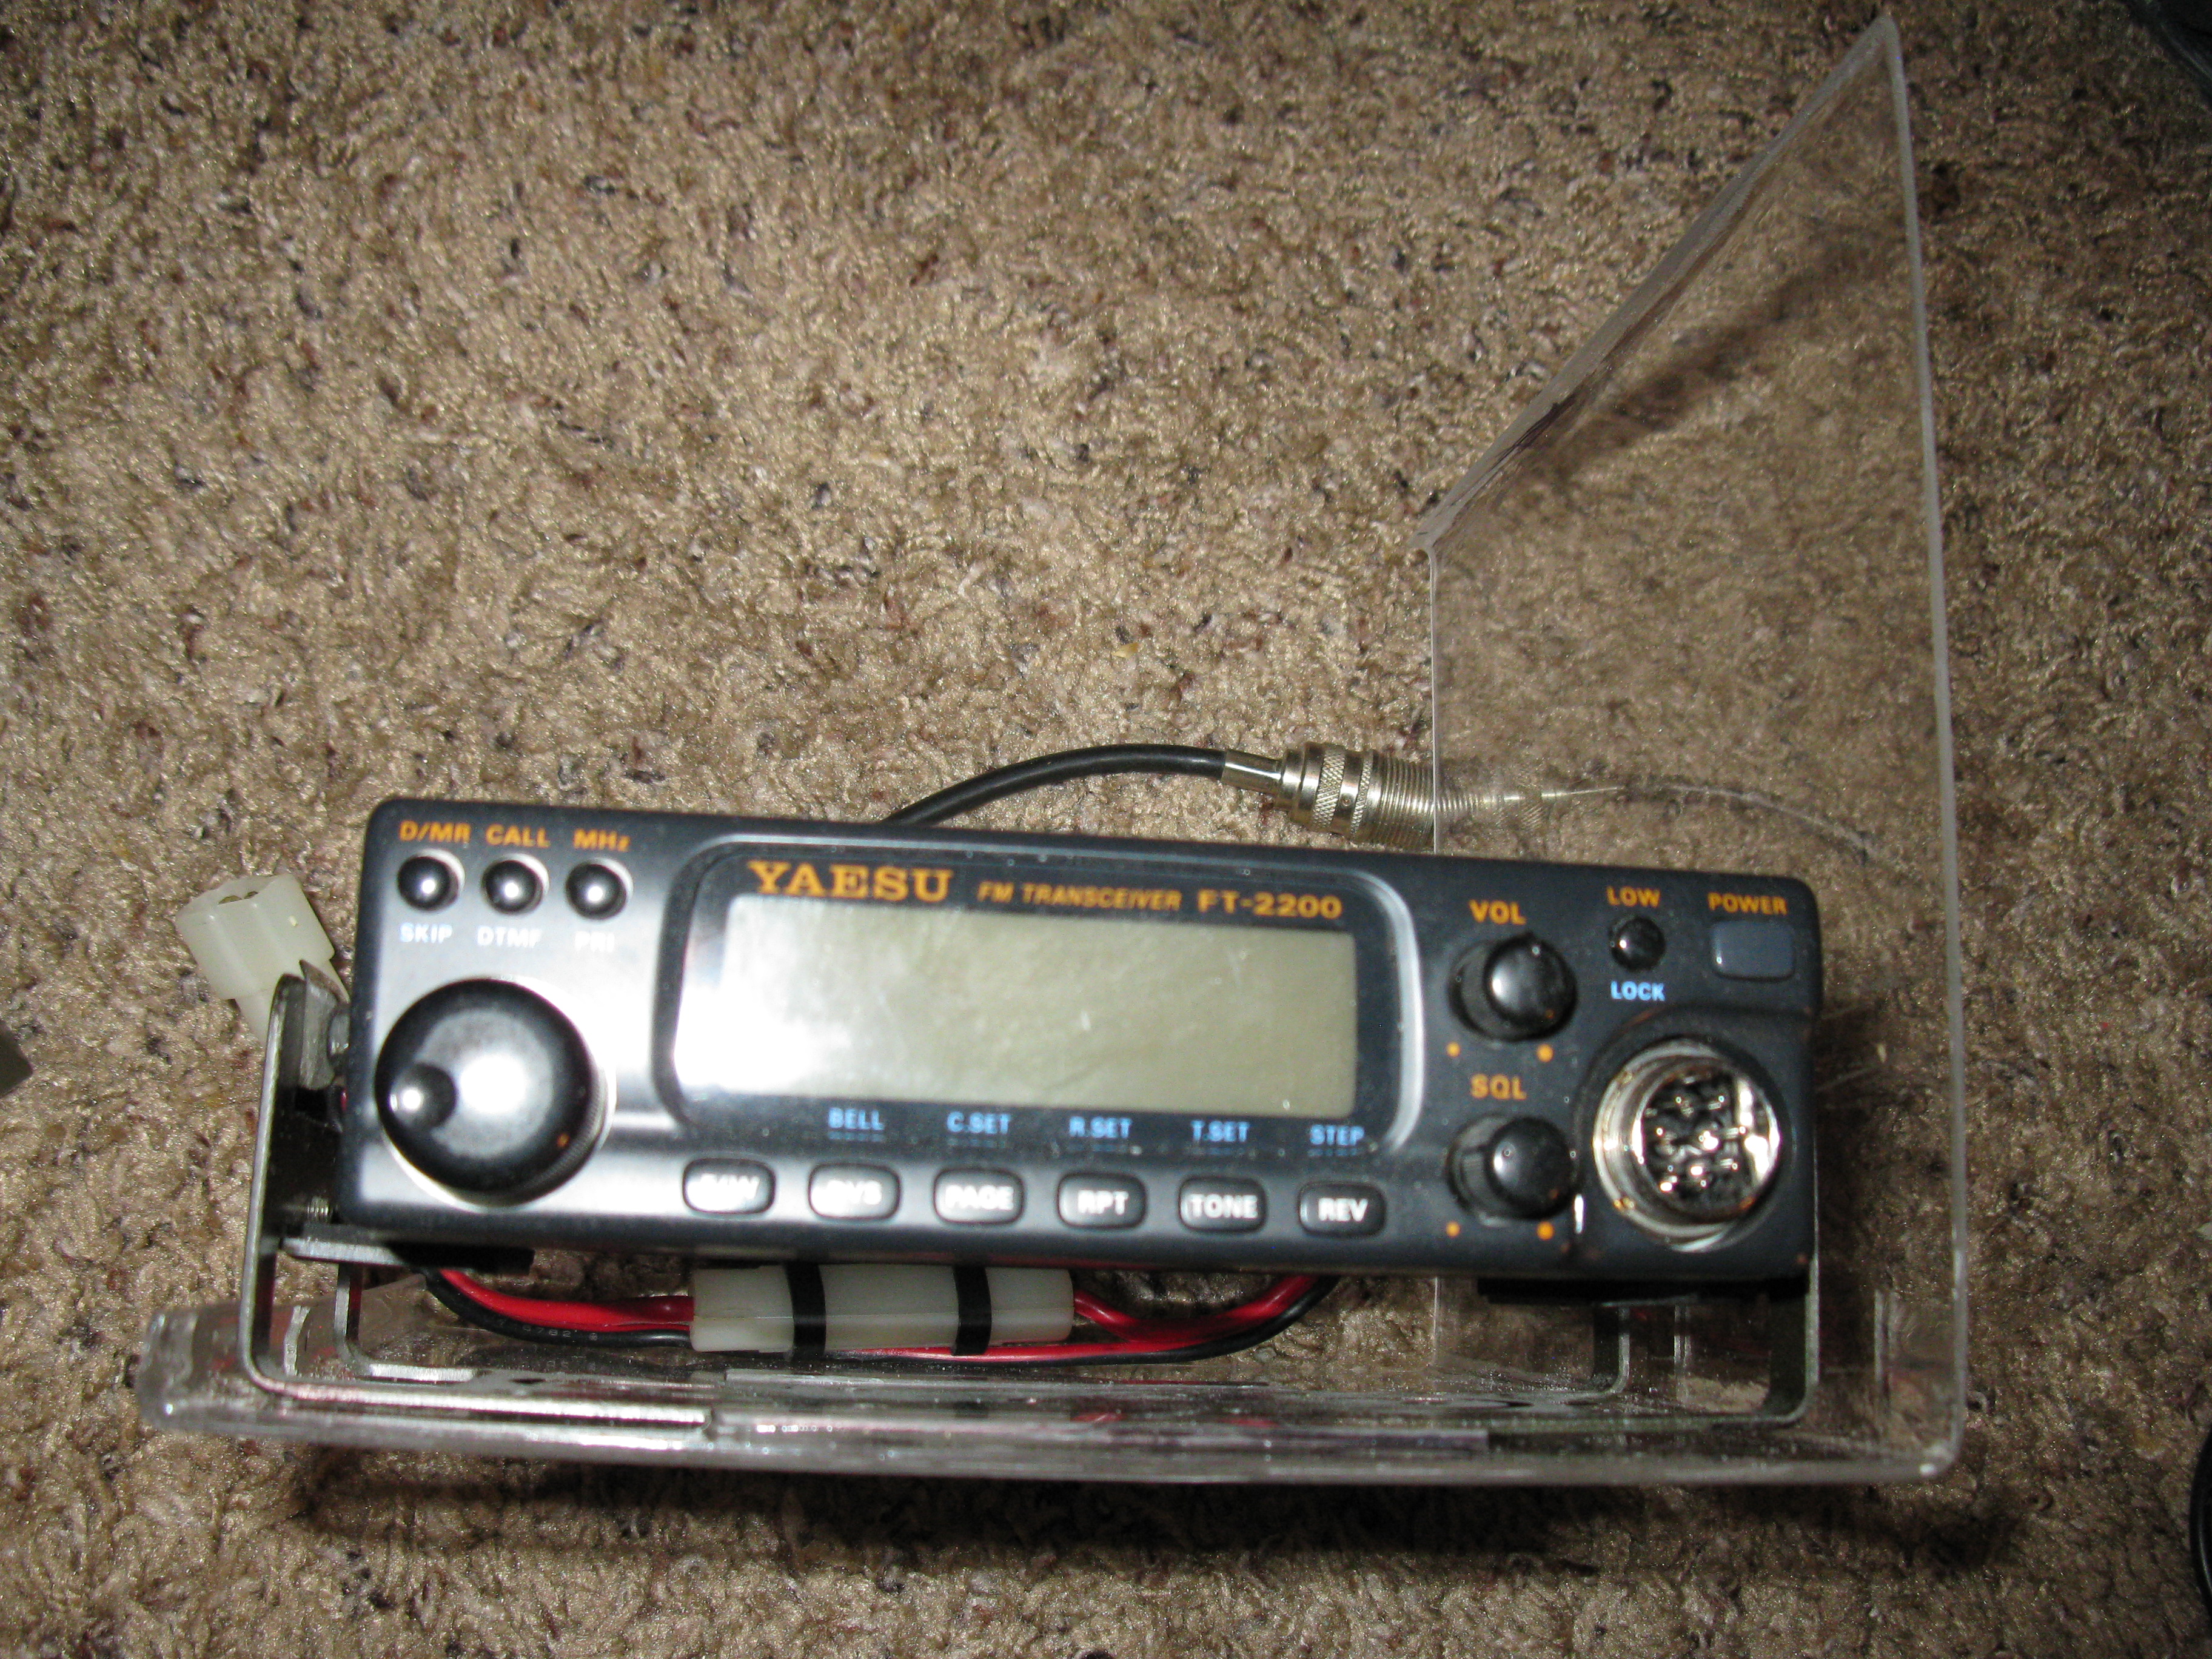
This radio module slides right in beside the batteries and panel. This provides the other half of the support to prevent the batteries from shifting to the right. This box may be carried in any position exept upside down, and may be operated either in an upright or front-facing position (as if the radio was sitting on a desk).

For operating in a front-facing position, the lid may be removed so it does not interfere with the user sitting at a desk or table. The original pins were replaced with thumb bolts, wing nuts, and lock washers. The threaded part of the bolt will be covered in shrink-wrap to prevent undue wear on the plastic.

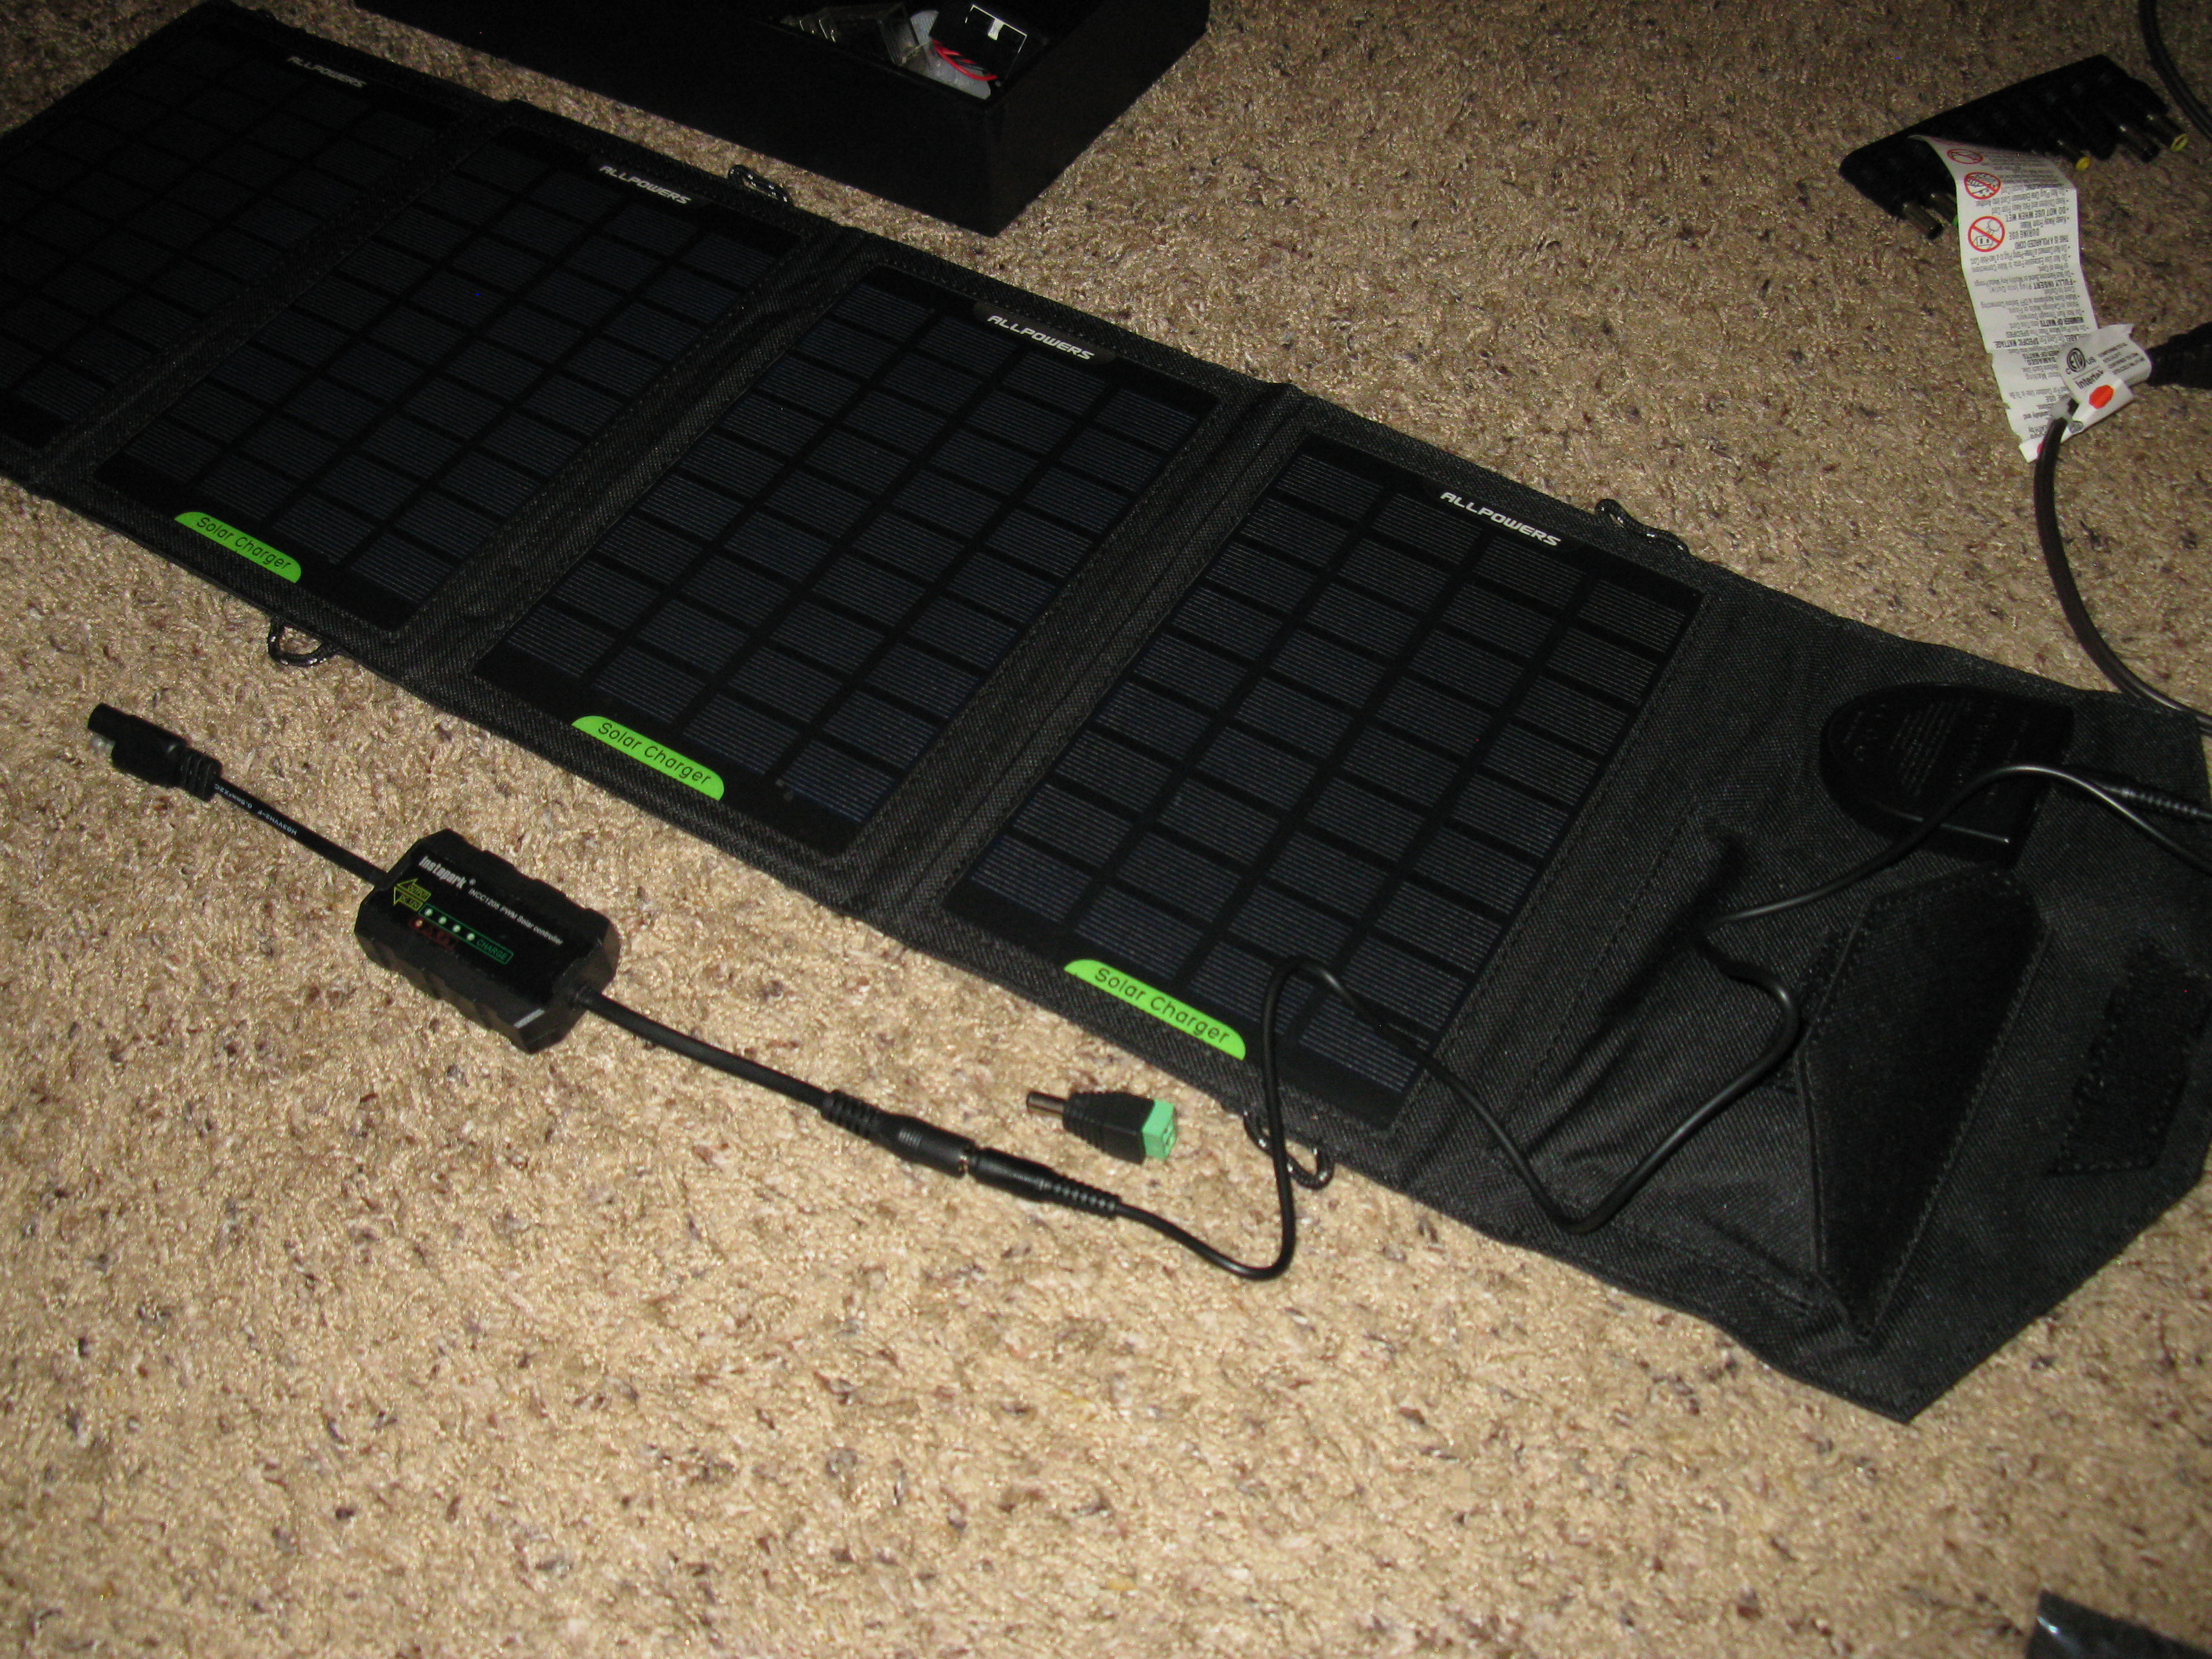
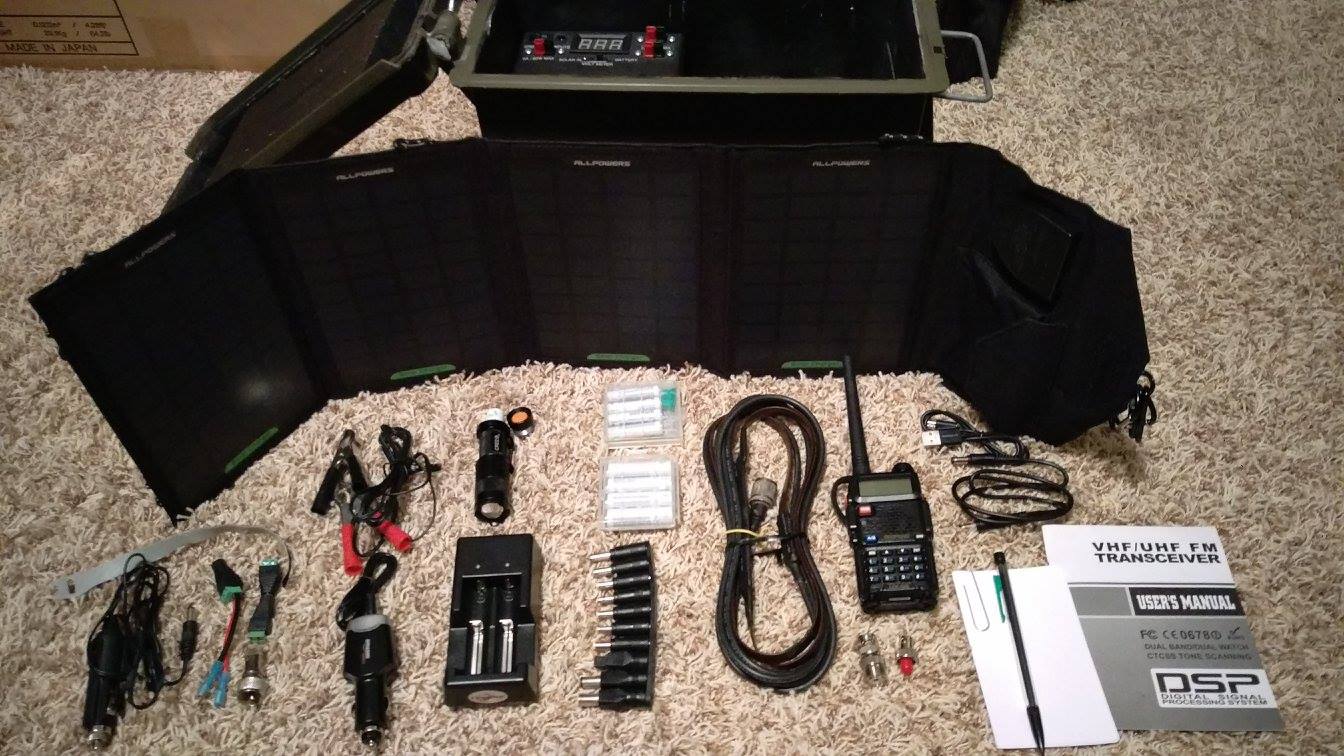
This is the solar panel that was chosen. It fits nicely in the WISE box and will provide current enough to provide sustainable moderate to heavy use of the radio and chargers, assuming a few days of sunlight in any given week. It interfaces with the charge controller by barrel connector.
It is an ALLPOWERS 18V 14W panel with both direct DC output and 5v USB output.
This is a test layout of the device panel and box configuration. Everything fits nicely with room to spare! The Anderson Power Poles will be held in with the Anderson AutoGrip mount by Hardened Power Systems.
https://portableuniversalpower.com/our-products/anderson-autogrips/

Each component was measured and layed out on the panel piece. A Dremel was used to cut the holes and channels for each component.
Note: Do not try to drill through this stuff! It shatters!
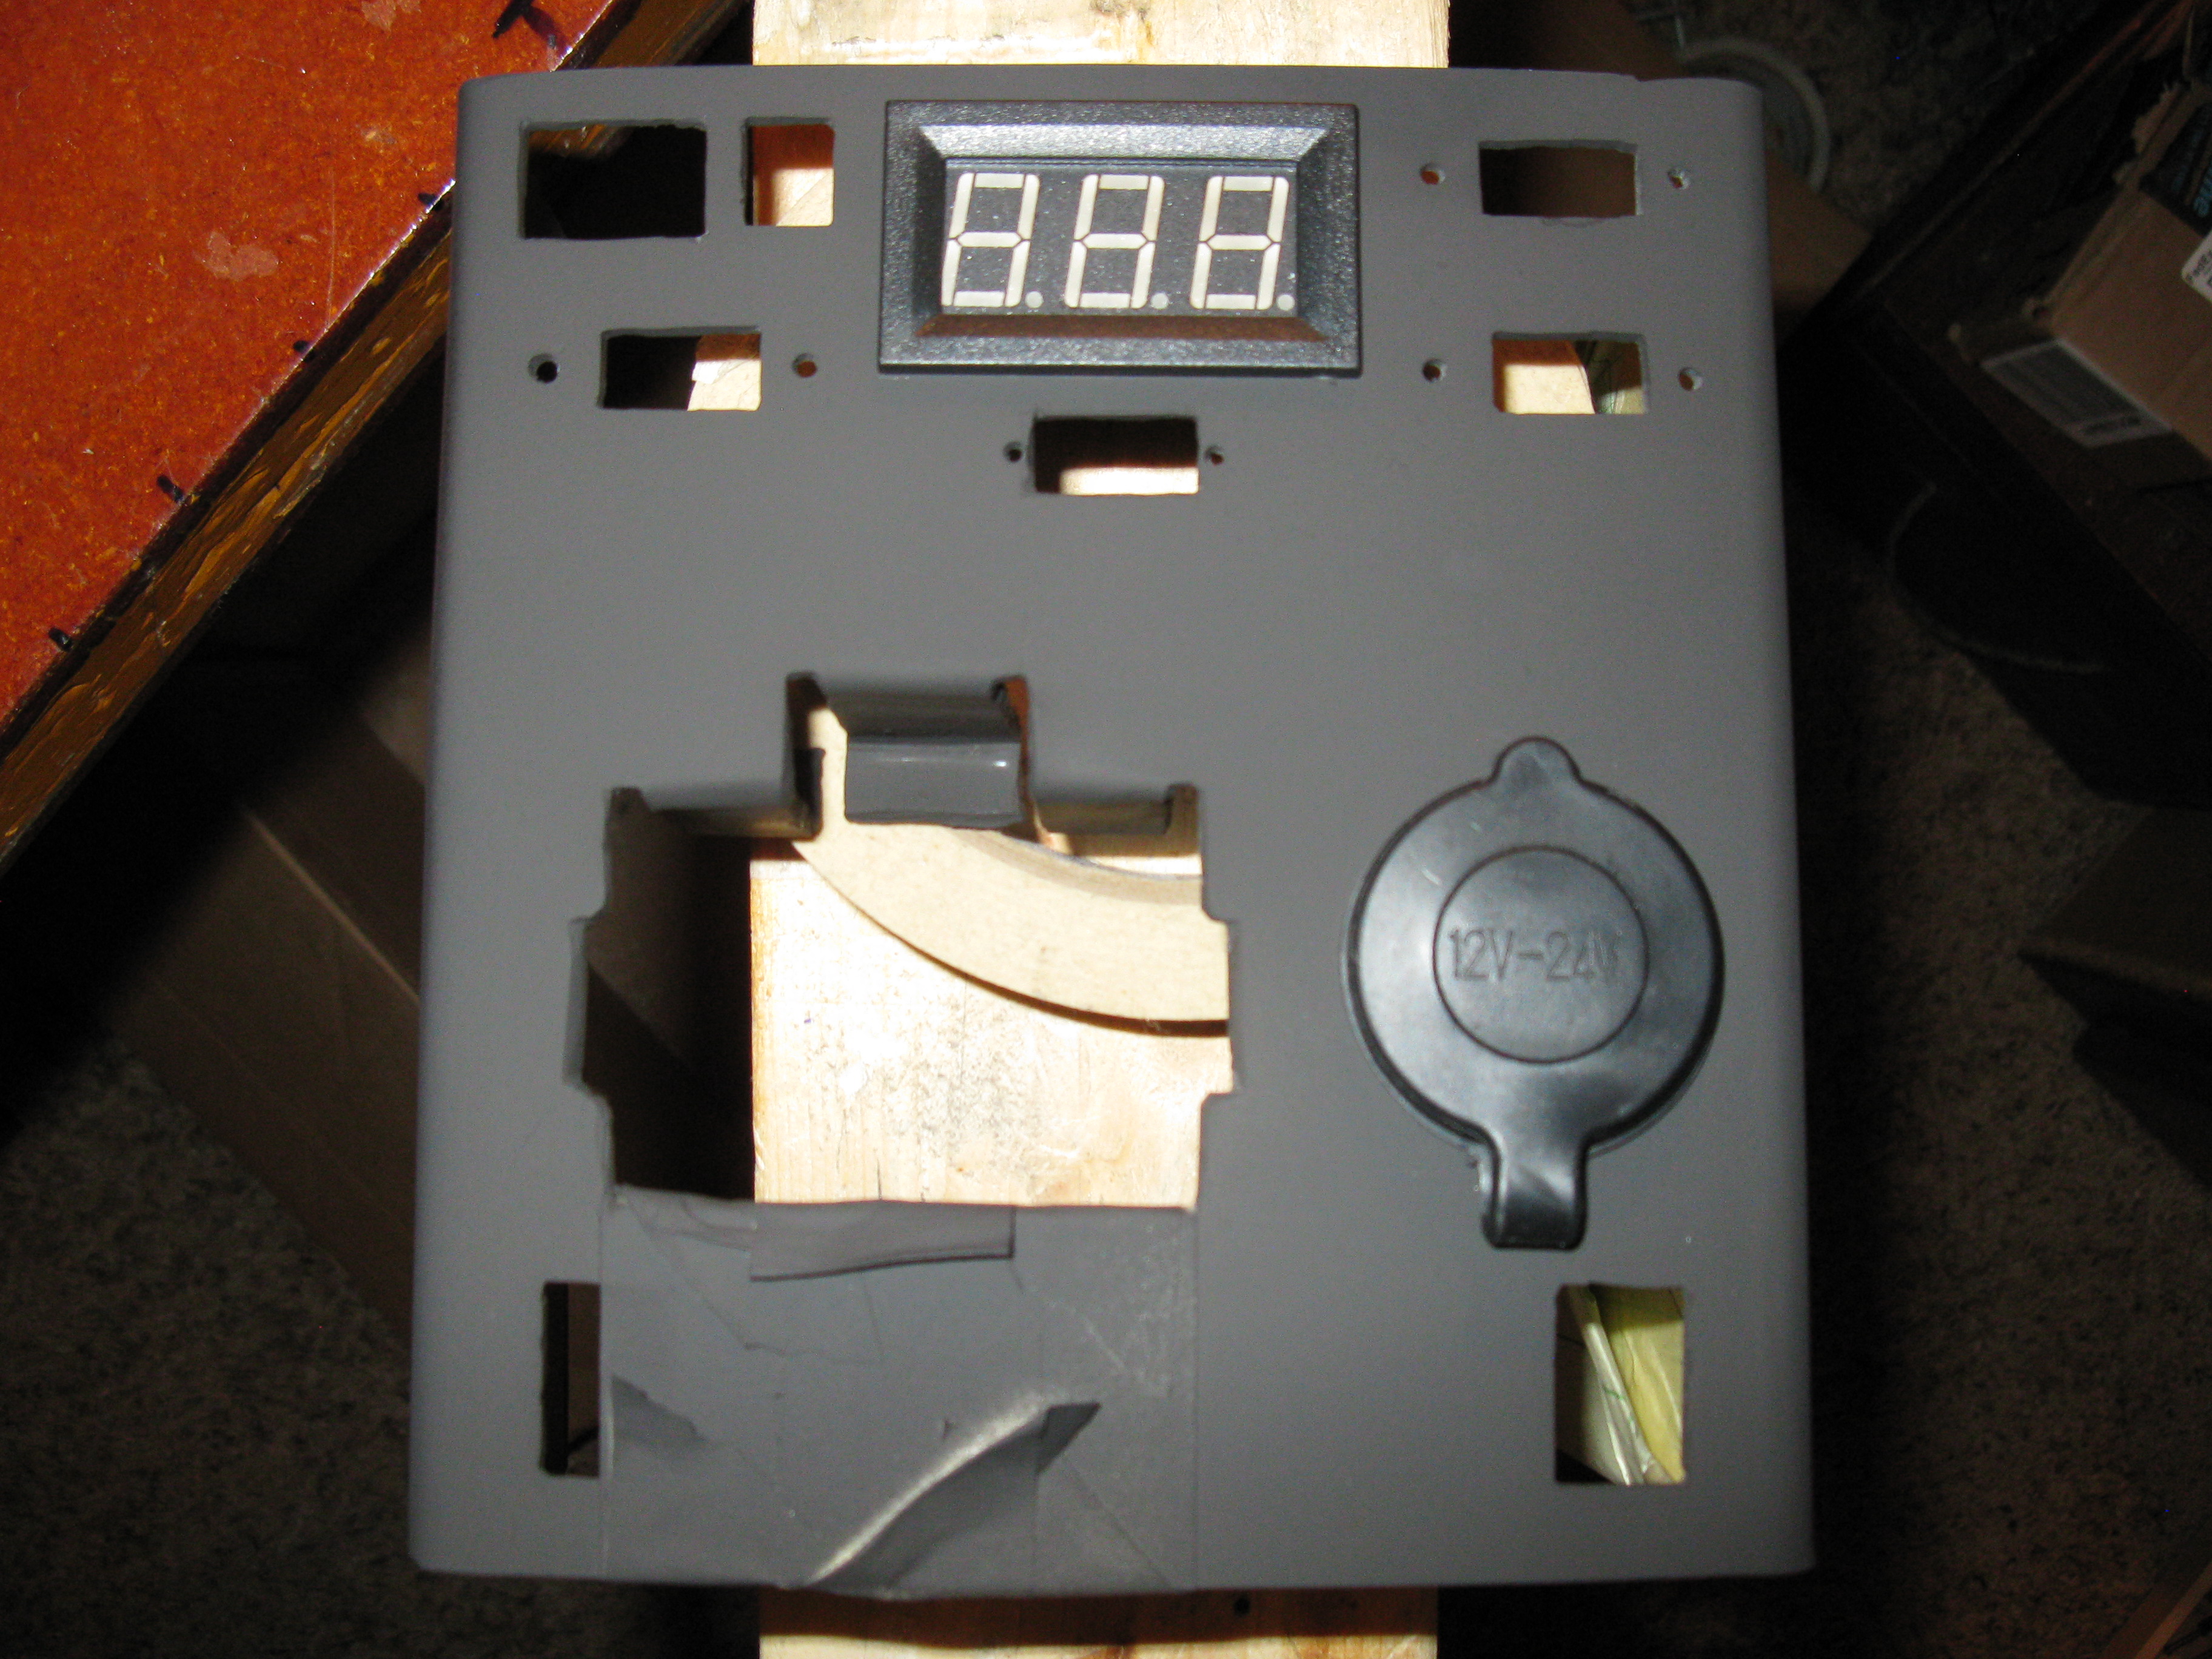
A picture of matching the panel bay to the Baofeng radio charger. The three "legs" will be recessed by bending with a heat gun. This will provide additional center support to the chassis panel.

The panel machined, painted, and some components installed. The Voltmeter is a DROK Voltage meter for 3.5 to 30V DC. It will be switchable between solar input (in order to adjust your panel most efficiently) and the battery (to check current battery voltage).
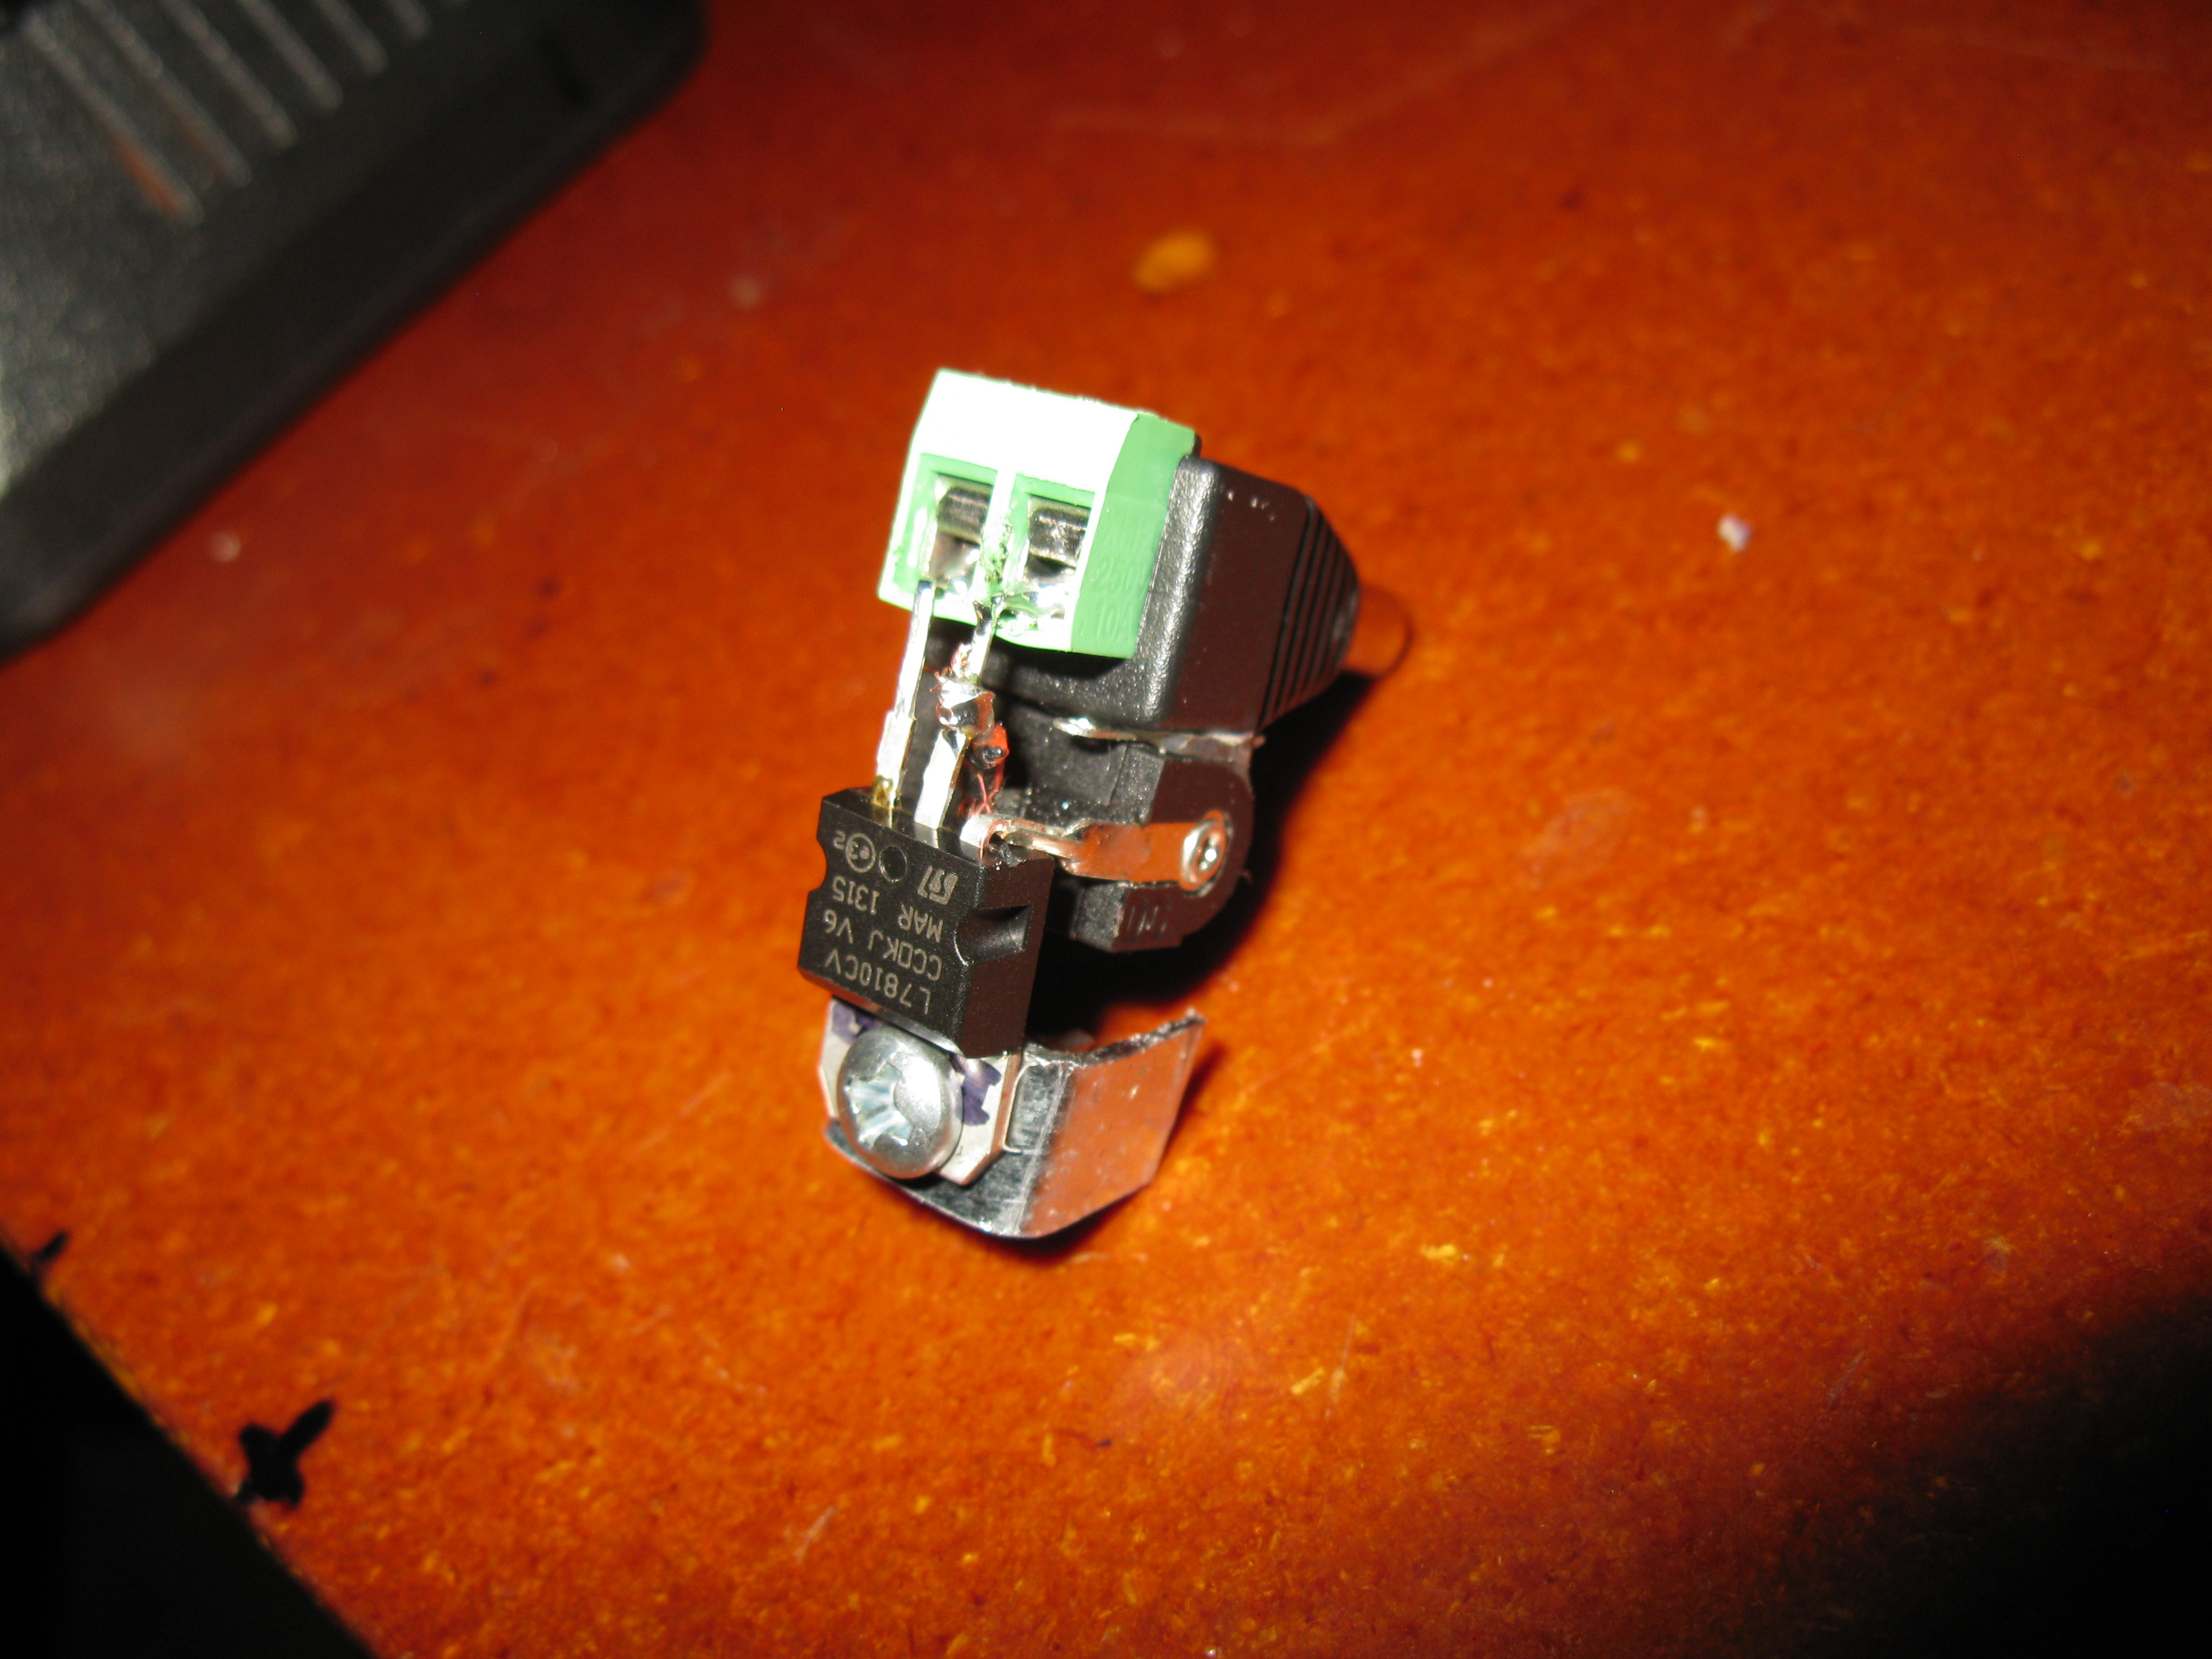
The BaoFeng charger expects a 10V DC supply. The batteries might produce anywhere between 12 to 14 volts. A LM7810 voltage regulator will be necessary.
This was later updated with electrolytic capacitors on both legs to guarantee stable operation of the LM7810.
Barrel connectors are used for modularity on both the input and the output of this charge controller. A small heatsink is attached, but is likely unnecessary at the currents expected (less than 500mA)
2017 Rework Edit: This module never had any problems, but I did add some capacitors to the input and the output of this voltage regulator for good measure.
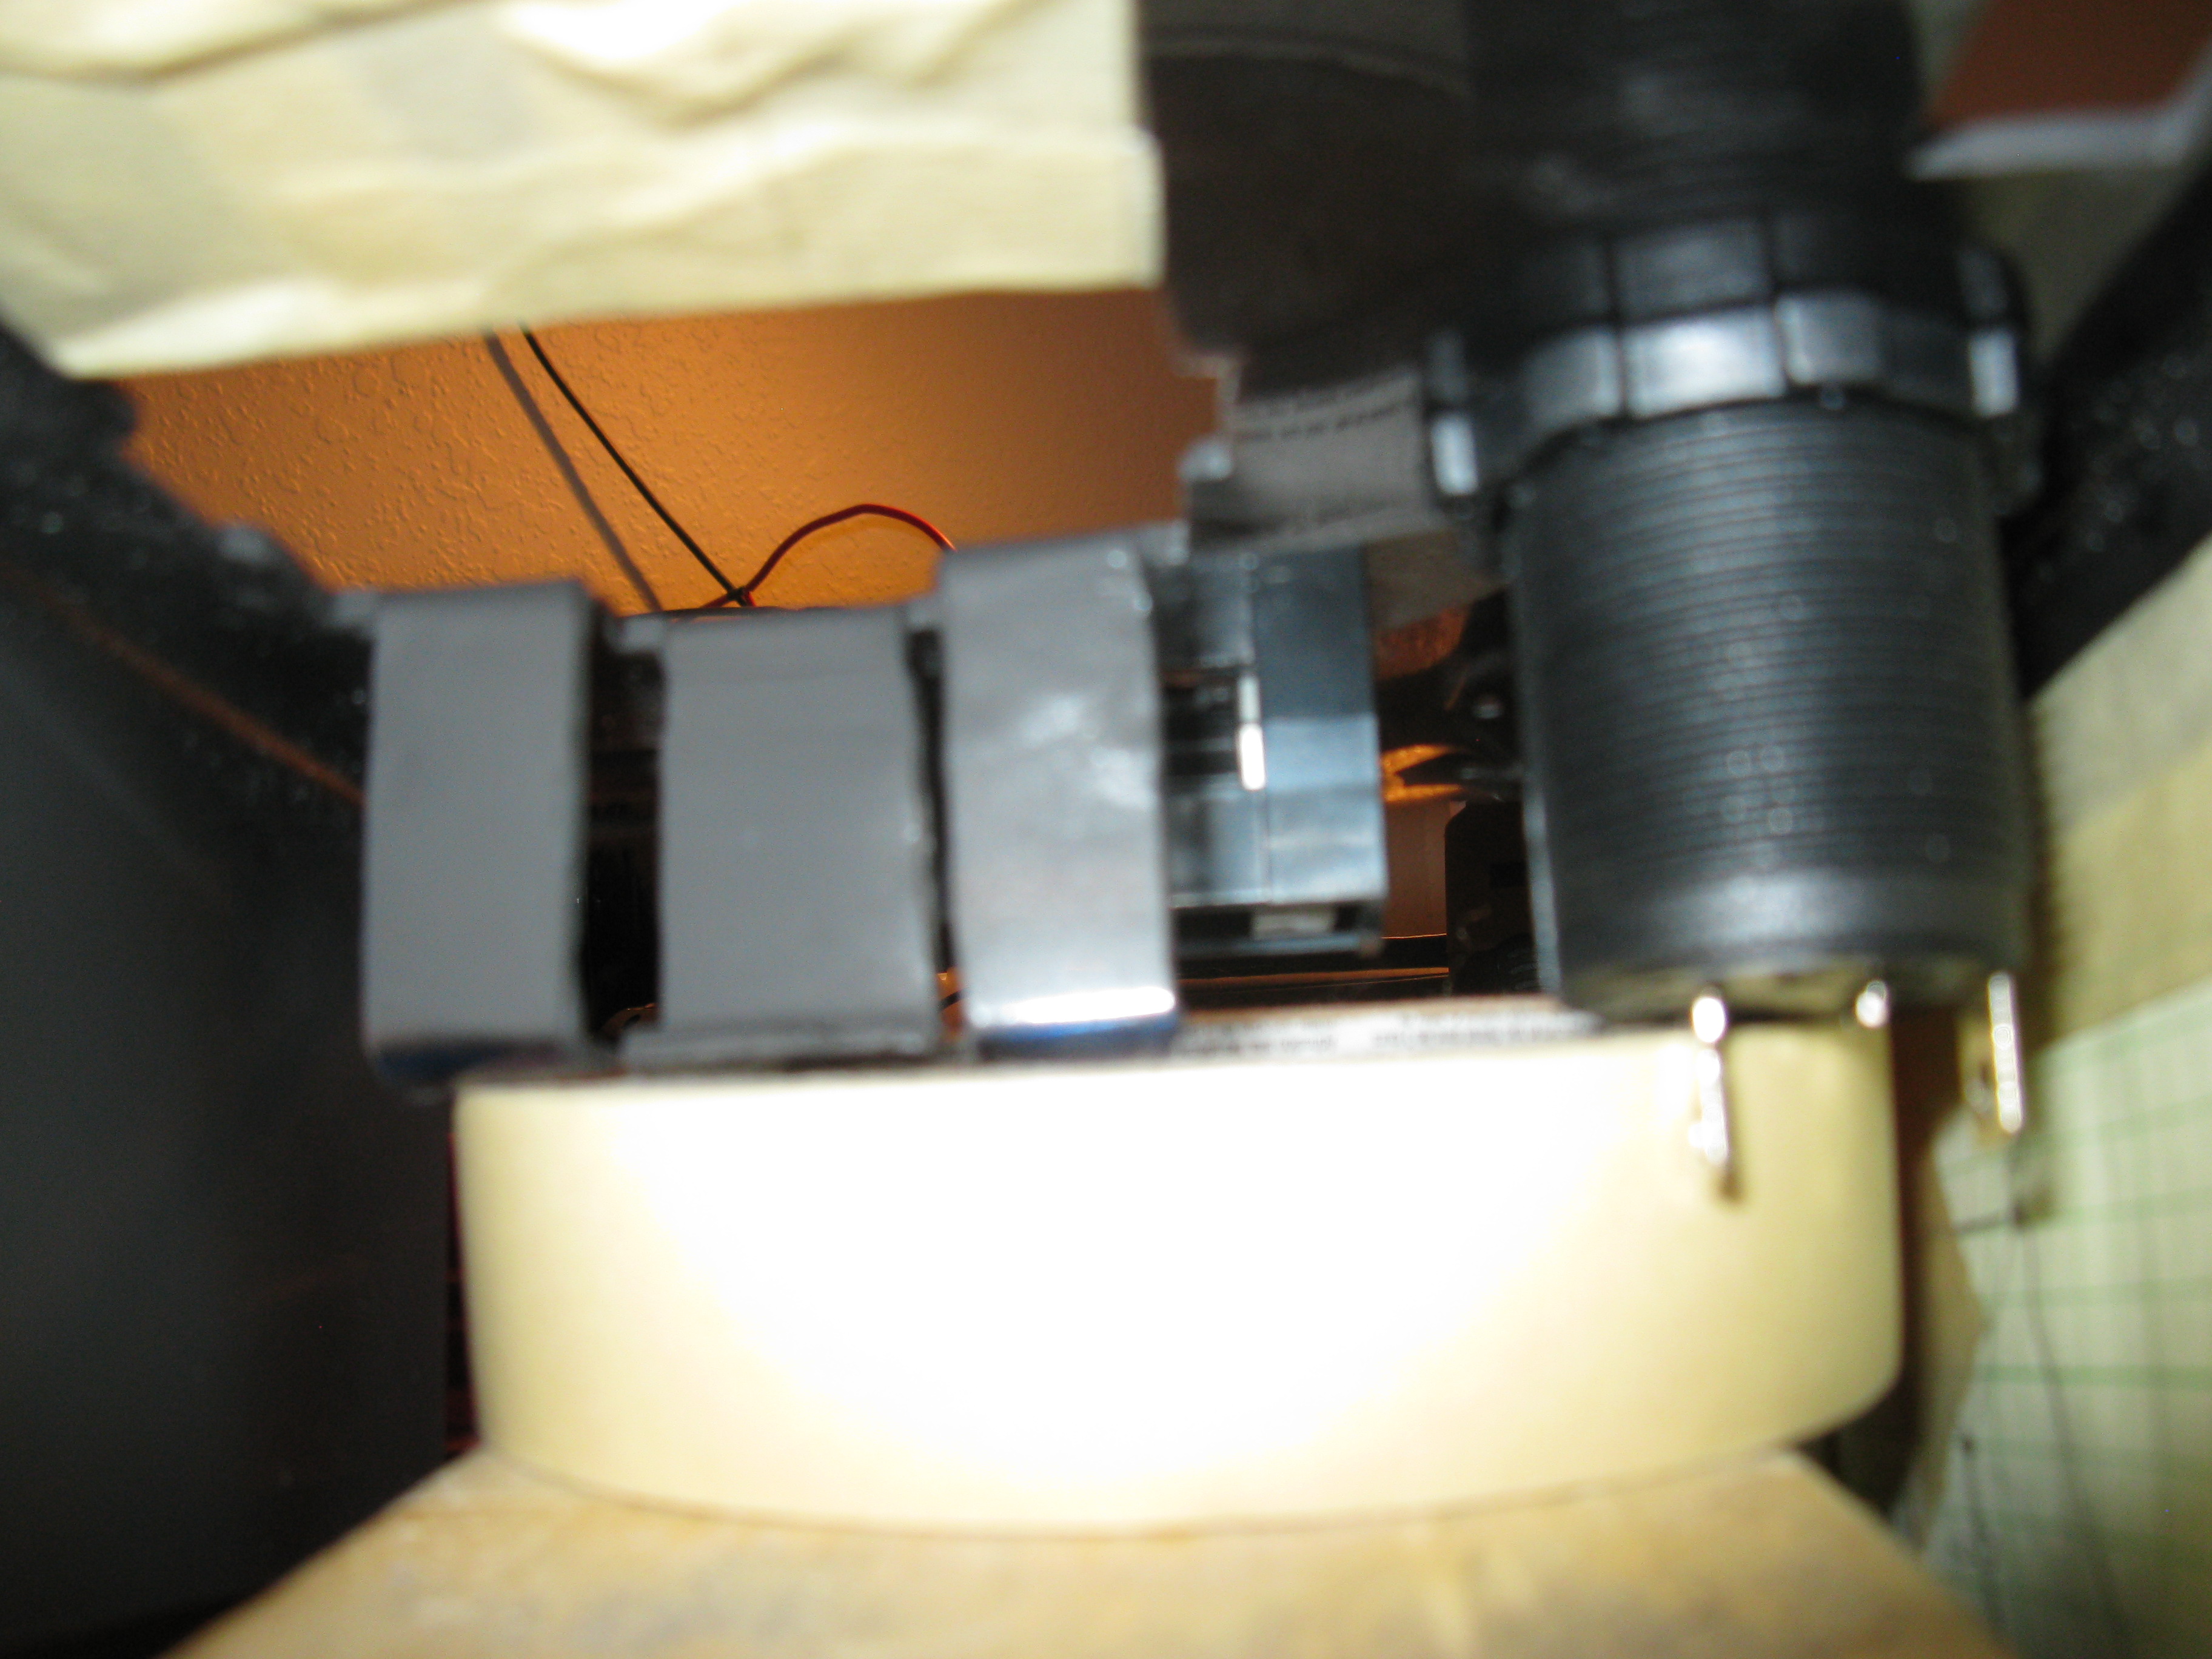
A view of the inside of the panel. The "legs" rest their "feet" on the Baofeng charger, providing additional support. The cigarette lighter takes a large amount of space in here!
The large tabs on the bottom of the cigarette outlet have holes in them. I used these to mount bolts and nuts, which provides a central tie point for all battery-connected components (post-fuse)
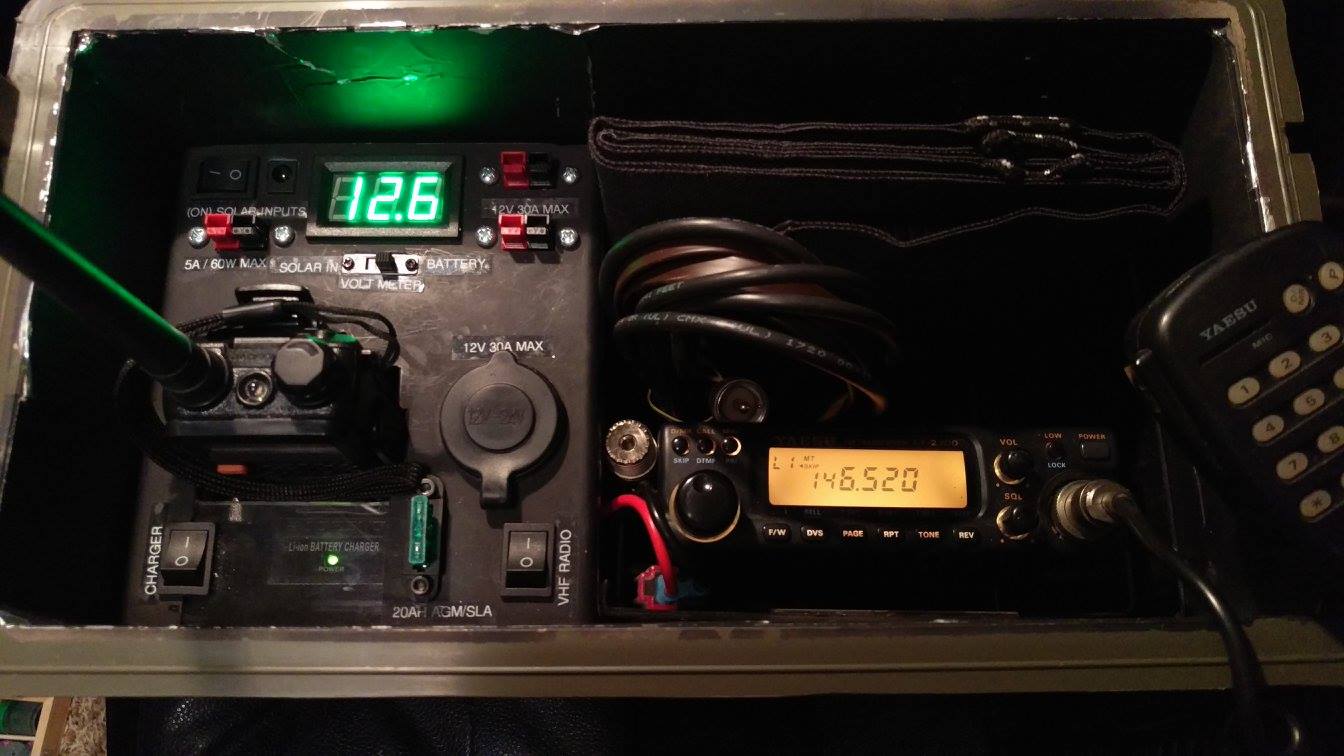
The finalized panel layout. Solar Input is in the top left, and the charge controller is completely disconnected by the upper left switch. DC Output is along the top right + the cigarette outlet. Power to the Yaesu 2M radio is applied/disconnected by the switch adjacent to the radio. Power to the LM7810 powering the Baofeng charger (removed in this picture) is controlled by lower left switch.
The center voltage display is controlled by the center three-position switch. Left will display the solar panel voltage. Right will display battery/output voltage. Middle will disconnect the display. This box may sit indefinitely with no draw on the batteries (excluding internal loss).

Another view inside the hooked-up panel. Blade connectors on the switches provide for easy maintenance and modularity. It is very tight, but everything fits!
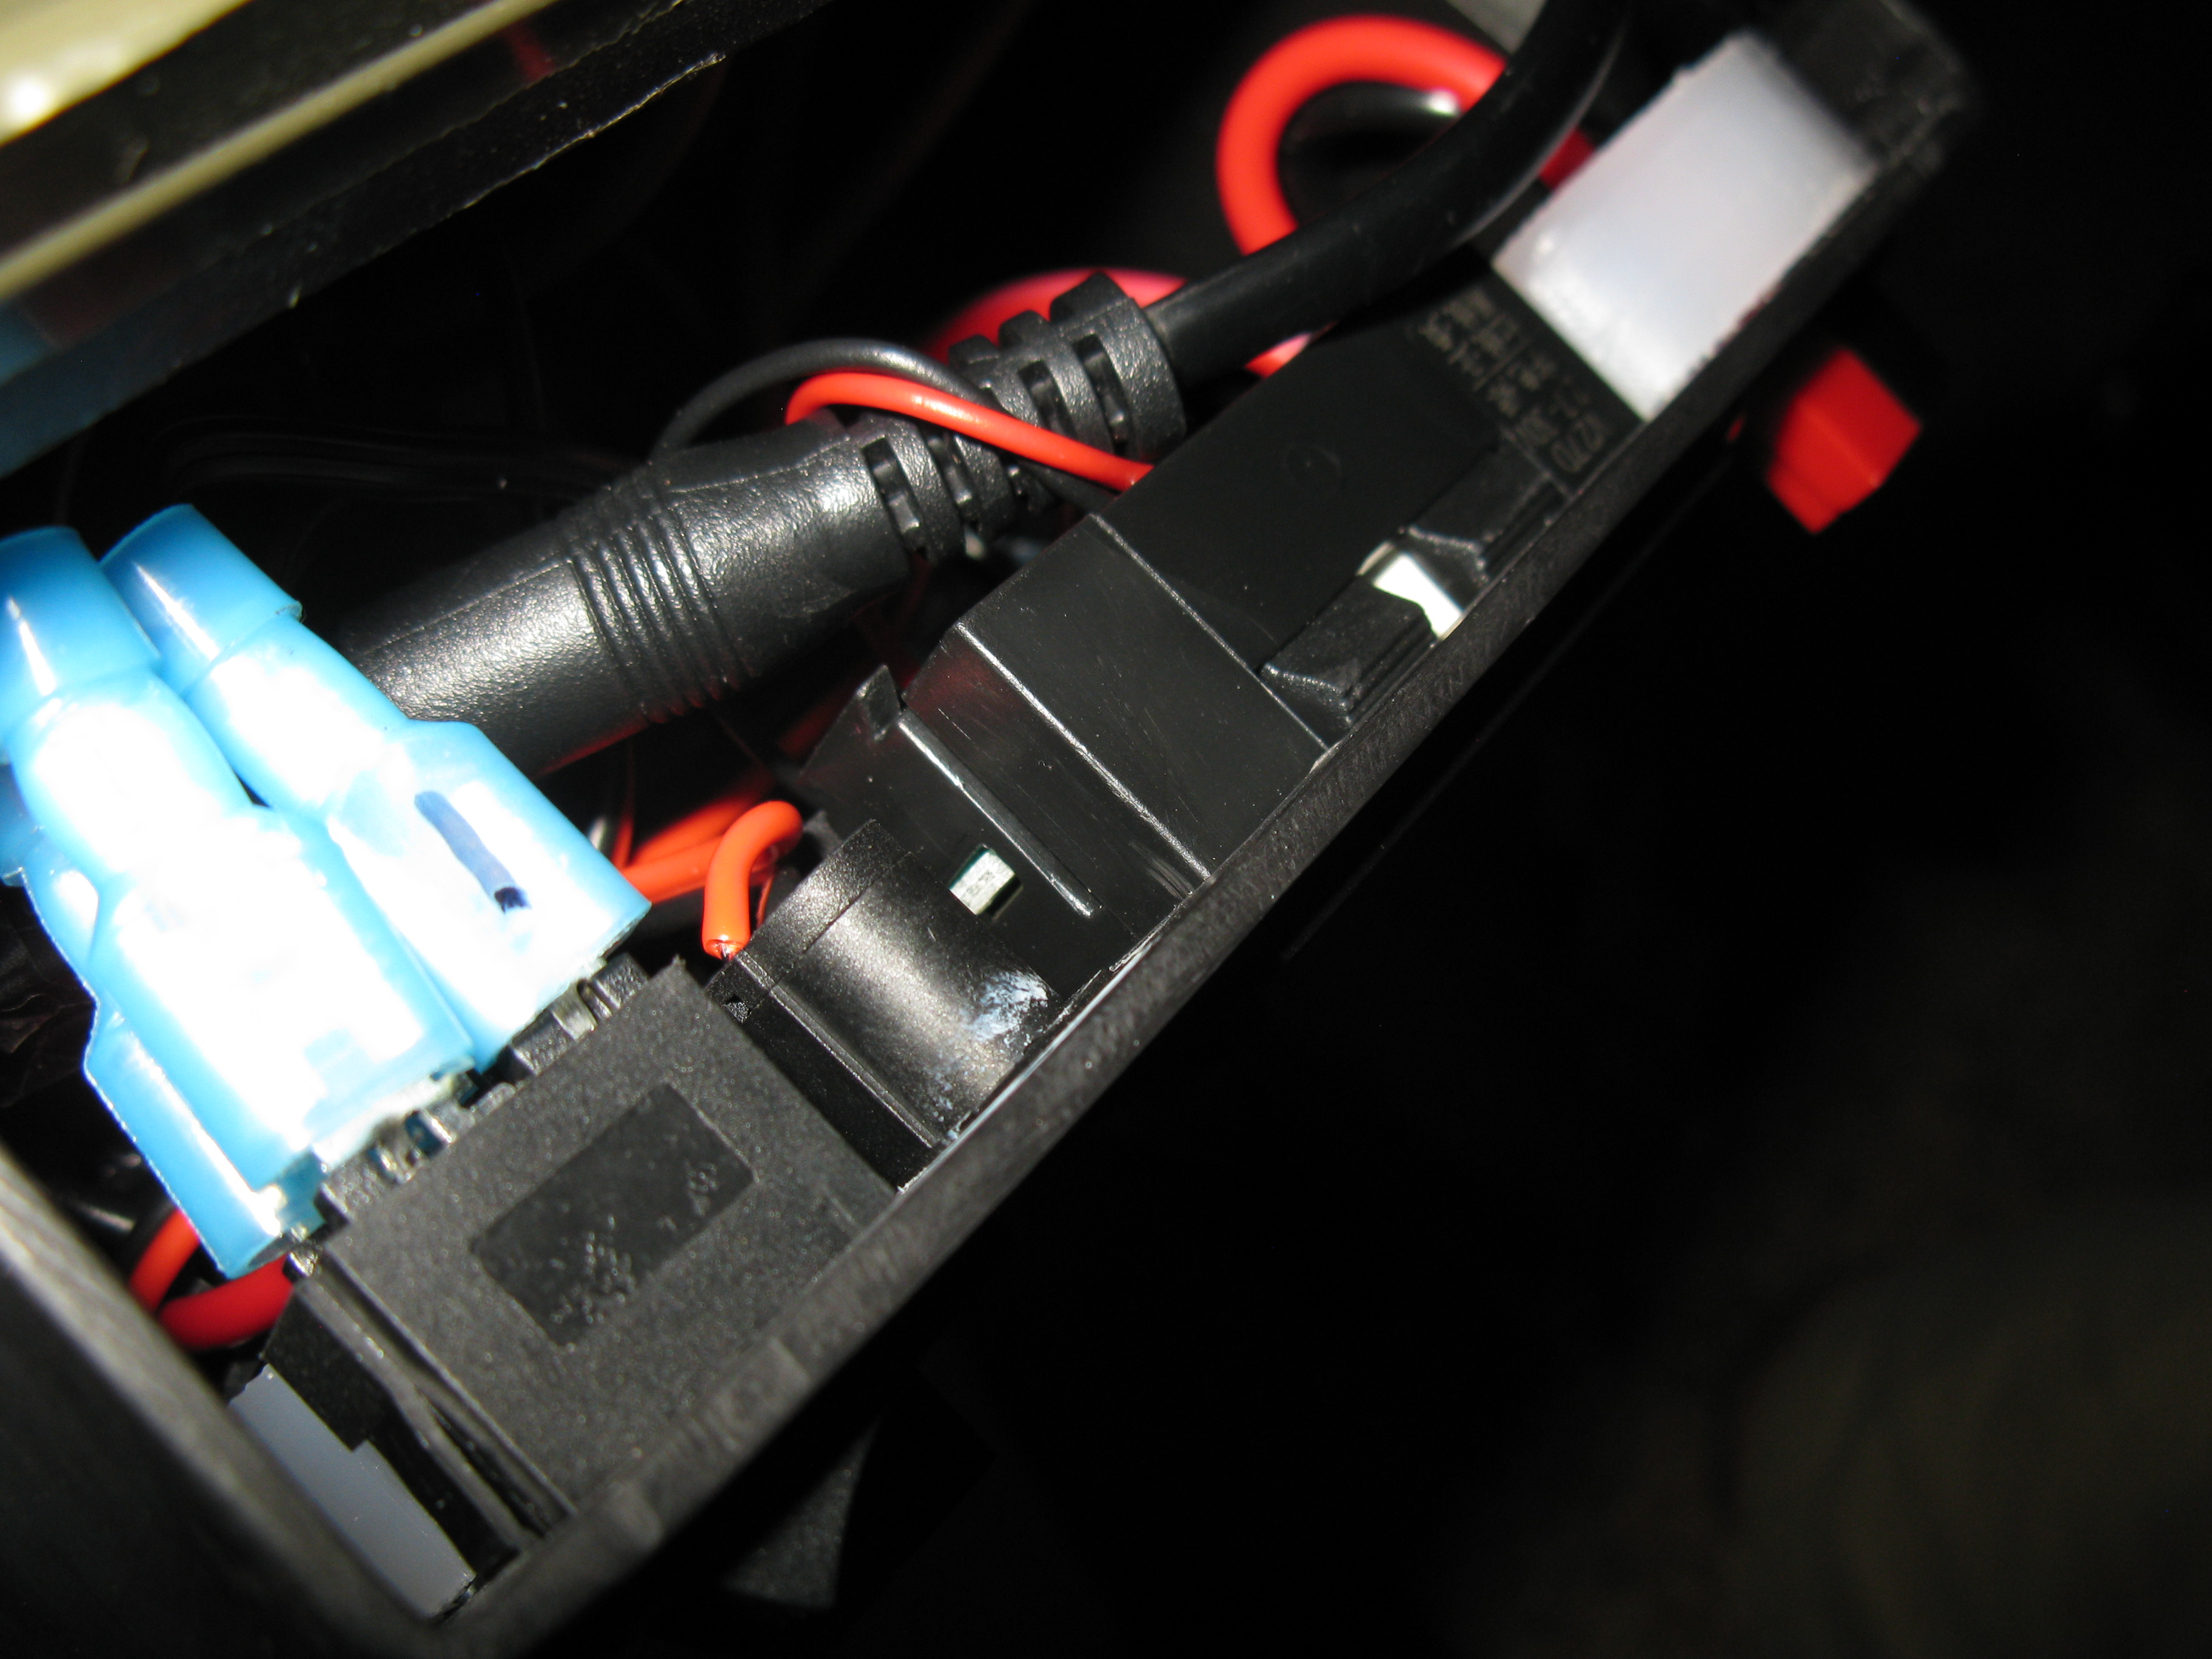
The display of the Instapark INCC1205 charge controller may be viewed on the side of the panel assembly. This charge controller can charge at up to 5A input current. "Up" is to the left of the picture. This will tell you the charging status of the system, if the charge disconnect switch is switched on.
Accessories are velcro'ed into the lid. These include stubs with Anderson Power Poles, cigarette plug, aligator clips, and screw-terminal barrel connector/plug. This should allow the user the ability to improvise themselves into or out of just about any situation!
AA/AAA Batteries fit nicely in the Baofeng charger bay when it's not in use. AA/AAA Charger, USB adapter, cables, and a Baofeng UV-5R fit nicely in between the solar panel and the Yaesu. A rollable 2M J-pole antenna for the Yaesu will fit nicely in addition to all the other accessories.

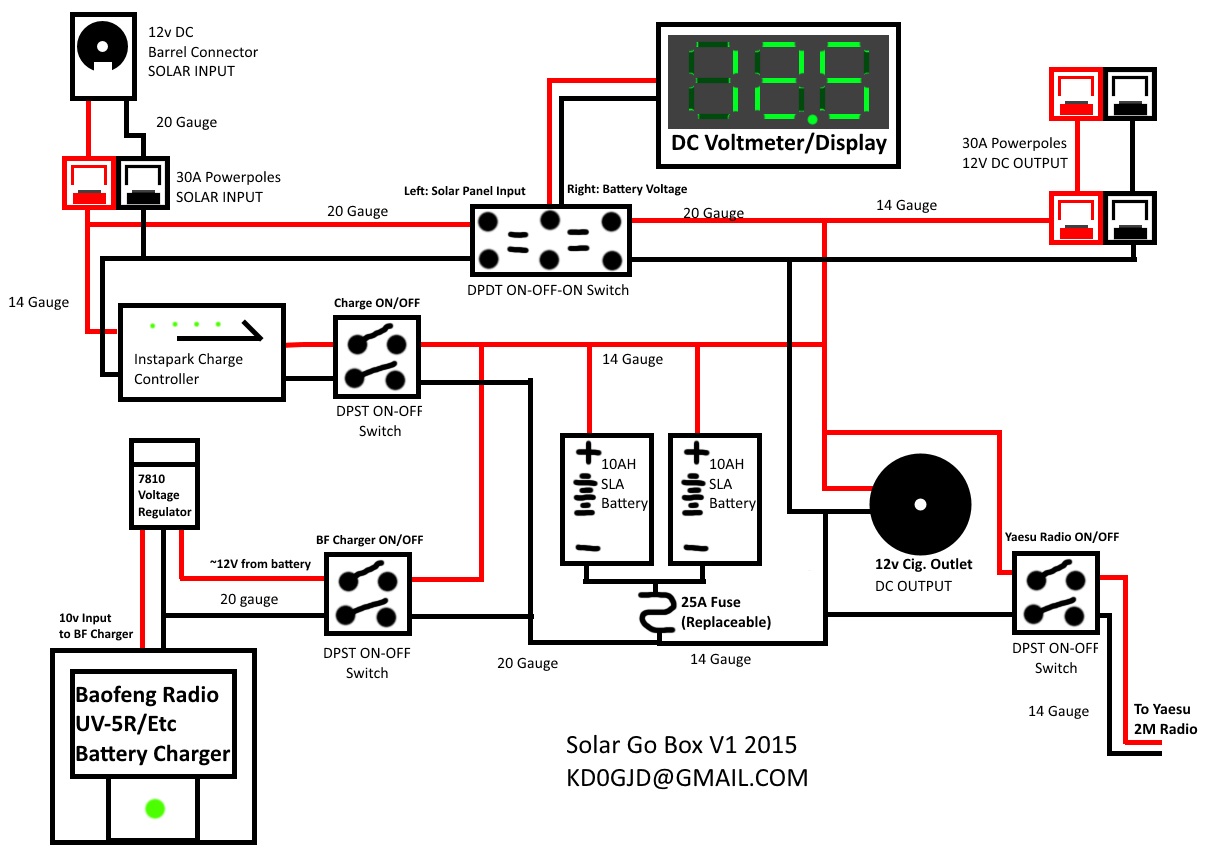
Here is the electrical schematic. This setup takes standard automotive fuses, and includes several spares. 14-gauge wire is provided for all outputs expected to be high current. Switches to peripherals can handle up to 10A at 125V (don't try it), and the Anderson Power Pole connectors are rated at 30 Amps each. A 25A negative fuse for the entire system is included for safety, but may be switched out to suit the user's needs.
2017 Update: I got this box back for battery replacement and minor rework. The contents could shift in transit, accidentally turning on the display or radio modules. If this happens and the box is left for a few months, the batteries will drain themsleves to beyond usefulness.
To prevent this from happening, I moved the fuse to a mounted socket so it can be removed for storage. It's also far easier to replace now if blown!
Here is the electrical schematic. This setup takes standard automotive fuses, and includes several spares. 2017 Update: Here are the smaller contents of the box on display. Enough to charge anything, or charge from anything!
Click on the letter for WinLink Email!

2021 AA0CN